Stop Water Dripping From Ceiling and Wall Cracks
Discover practical ways to stop water dripping from ceilings and wall cracks before it turns into costly damage. This complete homeowner’s guide explains how to identify the source, fix leaks, prevent mold, and protect your home from future water intrusion.
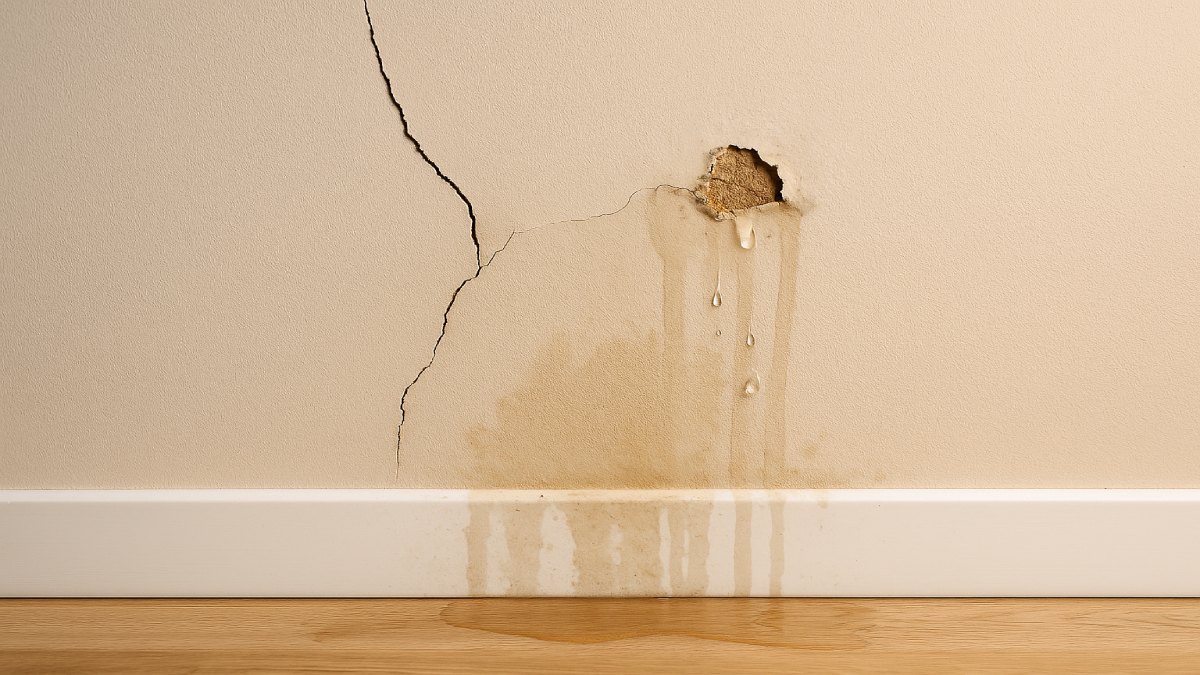
When Water Drips Mean Trouble
Few things are more stressful than spotting water dripping from a ceiling or down a wall. It often begins as a small stain, then escalates into peeling paint, damp smells, or even mold. Acting quickly is essential — moisture trapped for more than 24 to 48 hours can lead to mildew and structural damage. In this article, you’ll learn how to find the source, stop the drip, make effective repairs, and prevent it from happening again.
Identify the Source of the Leak
Interior vs. Exterior Leaks
The first step is determining if the leak is caused by something inside your home or by outside weather. If water appears during or after heavy rain, the issue likely stems from the roof, gutters, or flashing. Continuous dripping — even in dry weather — points to plumbing or HVAC problems. Observe patterns: does it worsen when someone showers or when the air conditioner runs? These clues reveal where to focus your inspection.
Common Culprits
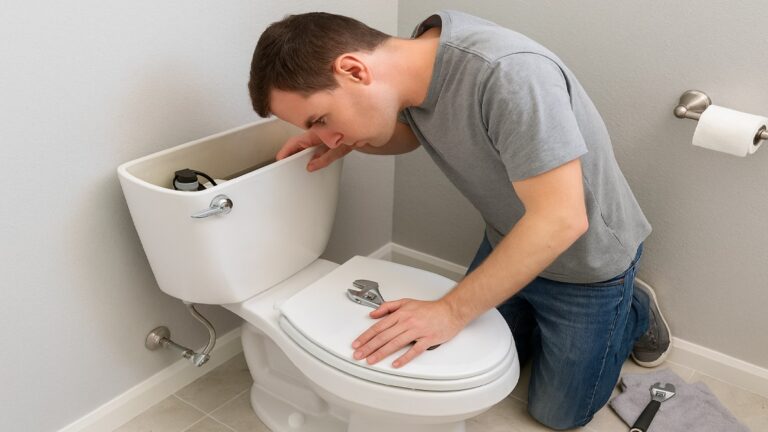
Most ceiling leaks trace back to a few usual suspects. Pressurized plumbing lines behind ceilings or walls may have small pinhole leaks that spray water outward. Bathroom drainpipes or shower pans can allow slow seepage between floors. HVAC systems may produce condensation that escapes through an overflowing drip pan or clogged condensate line. In cold climates, ice dams on the roof can force melting snow beneath shingles, creating hidden pathways into ceilings or walls.
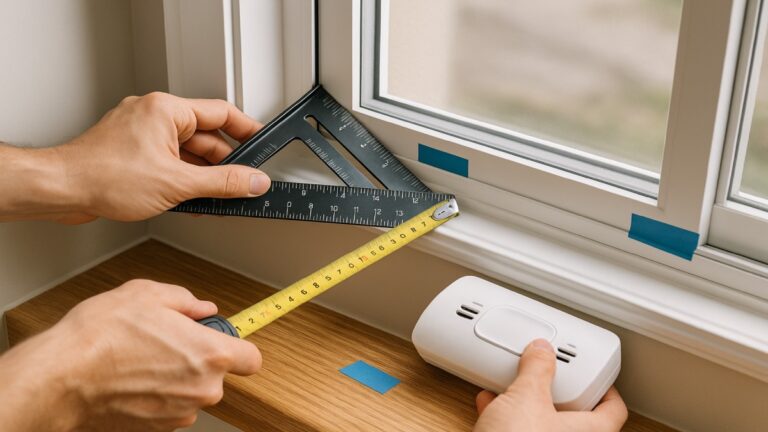
Inspection Tools and Techniques
Use a flashlight to check for discoloration, peeling paint, or soft spots in drywall. A moisture meter can confirm dampness beneath the surface, and a thermal imaging camera can reveal hidden moisture without cutting holes. If the source remains unclear, consider hiring a professional inspector with infrared scanning tools to locate leaks precisely before beginning repairs.
Take Immediate Action to Stop Damage
Contain and Control the Leak
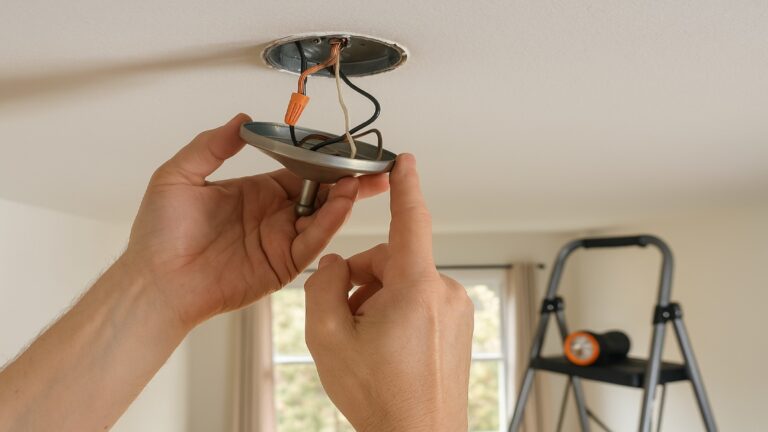
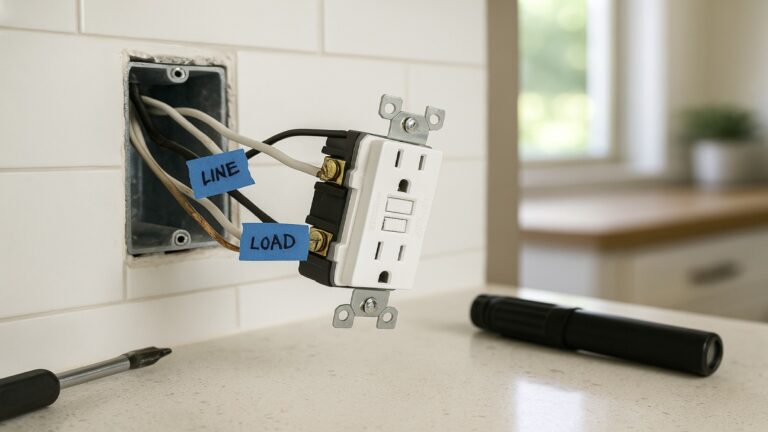
Once you identify where water is coming from, minimize damage. Place buckets or towels to collect drips, and move furniture or electronics out of the way. If the ceiling bulges, gently puncture a small hole with a screwdriver to release trapped water — this prevents a larger collapse. For plumbing leaks, turn off the main water supply immediately. Always cut power to nearby fixtures or outlets before touching damp areas.
Drying Process
Start drying the space as soon as the leak is contained. Run fans, open windows, and use a dehumidifier to reduce moisture. Aim to dry affected materials completely within 24 to 48 hours — the time frame recommended by the Environmental Protection Agency to prevent mold growth. If insulation or drywall remains soaked after two days, they should be replaced to stop future issues.
Repair the Source of the Leak
Fixing Roof and Ceiling Leaks
Small roof leaks can often be patched using roofing cement or self-adhesive repair tape. Replace missing shingles and reseal cracked flashing around vents or chimneys. In snowy regions, check for ice dams along the roof edge. Removing snow buildup with a roof rake and adding proper attic insulation can prevent future meltwater intrusion. For widespread damage or sagging ceilings, professional roofing or drywall repair is recommended.
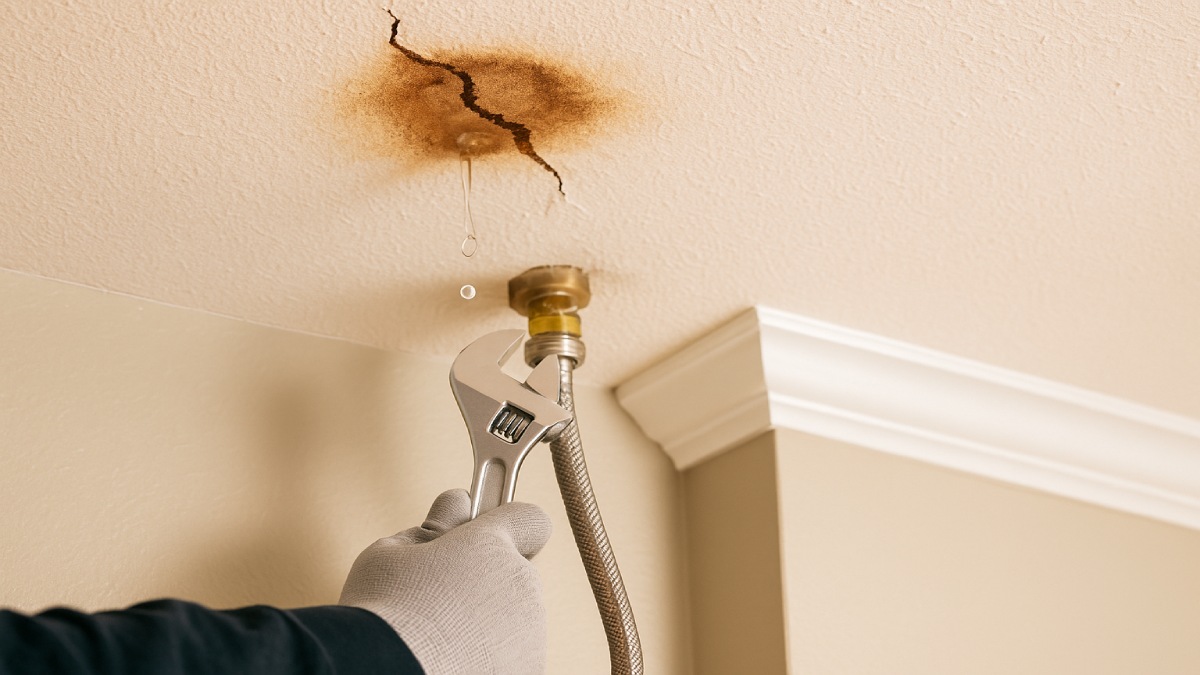
Repairing Plumbing Leaks
If the drip originates from plumbing, tighten visible joints and replace worn-out washers or supply hoses. Epoxy putty or pipe repair tape can serve as a temporary fix, but these are stopgaps. Long-term reliability requires replacing the damaged pipe section. When leaks are hidden inside walls, it’s often best to call a licensed plumber who can cut minimal openings and test pressure safely.
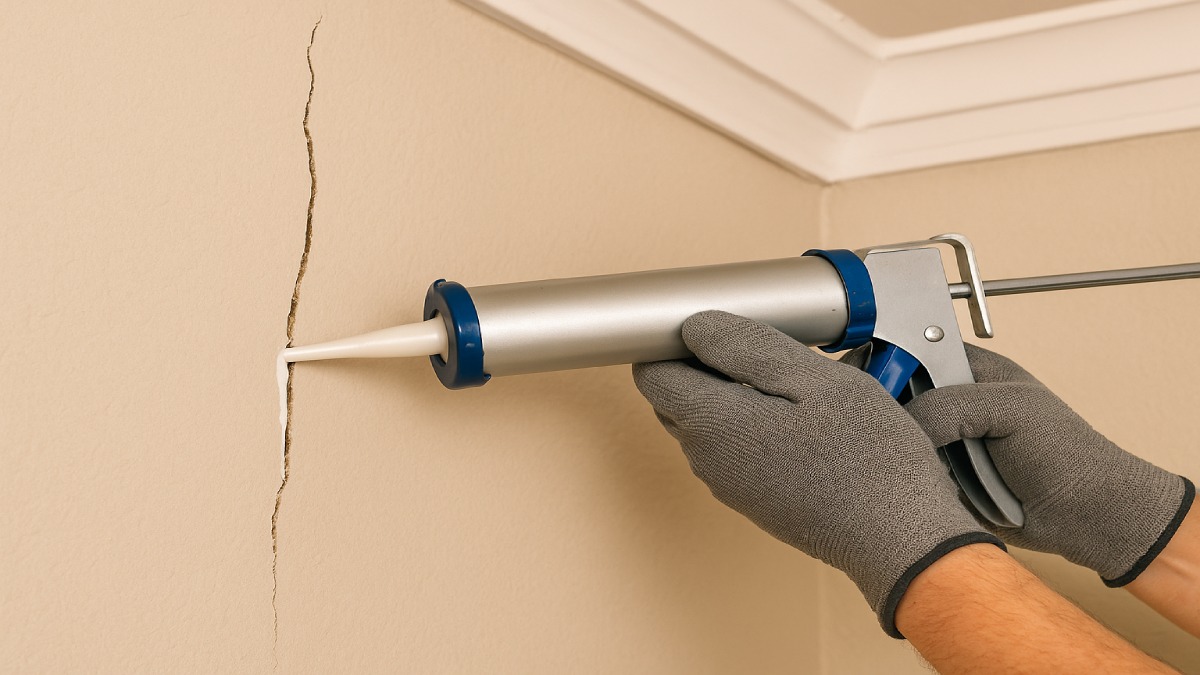
Addressing Wall Crack Seepage
Hairline cracks in concrete or plaster walls may appear harmless, but they can let in a surprising amount of water during rain. Start by cleaning the crack and removing loose debris. For quick fixes, apply hydraulic cement, which expands as it sets to block active seepage. For a more permanent solution, consider epoxy injection for dry cracks or polyurethane injection for those still leaking. Epoxy bonds the concrete structurally, while polyurethane remains flexible, sealing out water even if the wall shifts slightly over time.
Prevent Mold and Restore the Area
Mold Prevention Basics
Once water damage occurs, the clock starts ticking on mold growth. Mold spores are everywhere, but they need moisture to thrive. Keep indoor humidity below 50%, run exhaust fans in bathrooms and kitchens, and use dehumidifiers in damp spaces. If mold appears larger than a small patch, contact a certified mold remediation company. Mold can irritate the lungs and worsen asthma, especially for children or elderly residents.
Cleaning and Restoration
After the area is fully dry, cut away damaged drywall or insulation. Scrub any stains with a mild detergent and water mixture, then apply an antimicrobial cleaner before repainting. Avoid repainting over damp surfaces — new paint will bubble and peel. When replacing drywall, consider using moisture-resistant green board in bathrooms, kitchens, and basements to prevent future issues.
Safe DIY Practices
Always wear gloves, goggles, and a respirator when cleaning or sanding water-damaged materials. Never mix cleaning chemicals or use bleach on porous surfaces like wood or drywall. If you experience headaches or dizziness during cleanup, stop immediately and ventilate the space. For extensive damage, professional restoration teams can remove affected materials safely while monitoring humidity and air quality.
Long-Term Prevention Strategies
Improve Drainage and Roofing
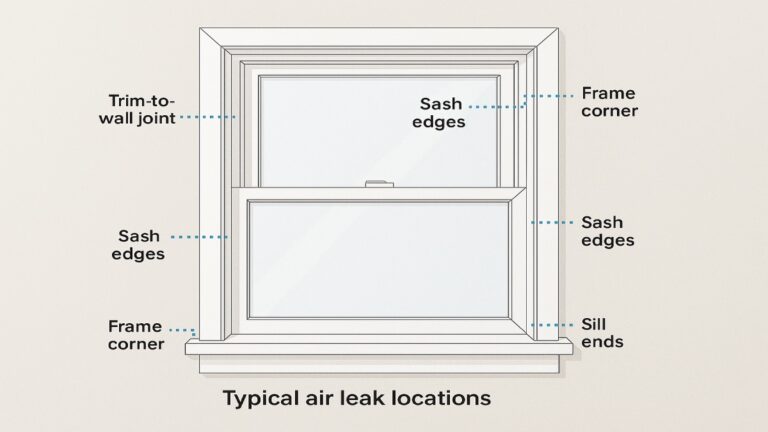
Good drainage is the foundation of a dry home. Clean gutters and downspouts twice per year to keep rainwater flowing away from walls. Extend downspouts at least five feet from the foundation and maintain a gentle slope away from the house. Inspect roof flashing, vents, and valleys for gaps that could admit water. In older homes, applying a waterproof coating on the roof deck or installing an ice-and-water membrane beneath shingles can greatly enhance protection.
Control Indoor Humidity
Maintaining indoor humidity between 30% and 50% helps prevent condensation that contributes to ceiling stains and mold. Use exhaust fans when cooking or showering, and ensure your attic and crawl space have proper ventilation. In humid climates, portable or whole-home dehumidifiers keep moisture in check. Smart home sensors can also alert you when humidity spikes or leaks begin, giving early warnings before major problems arise.
Routine Maintenance Tips
Prevention starts with consistent maintenance. Schedule annual roof and plumbing inspections, especially before storm or freezing seasons. Replace worn faucet washers, inspect AC drain lines, and reseal bathroom tiles. On exterior walls, apply breathable masonry sealers that repel water but allow vapor to escape. A small weekend maintenance habit can save thousands in future repairs.
Know Your Insurance and When to Call Professionals
What Insurance Typically Covers
Homeowner’s insurance usually covers sudden and accidental leaks, such as a burst pipe or overflowing appliance. Gradual leaks caused by neglect, corrosion, or poor maintenance are often excluded. Flood damage from heavy rain or rising groundwater requires a separate flood insurance policy. Review your coverage limits, including mold remediation caps, to avoid surprises during a claim.
Documentation and Claims
Thorough documentation increases your chances of a successful claim. Take clear photos of all visible damage before starting cleanup, note the date and time of discovery, and keep receipts for repairs or equipment rentals. Contact your insurer promptly — delays can jeopardize approval. Many companies also request proof that you acted quickly to mitigate damage, such as hiring water extraction services or drying the area promptly.
When to Hire Professionals
Some leaks demand professional expertise. Call a roofing contractor if you see sagging ceiling panels or extensive shingle damage. Hire a licensed plumber for persistent pipe leaks, water pressure fluctuations, or recurring moisture behind walls. Certified restoration technicians follow the IICRC S500 standard, which defines safe drying procedures and moisture monitoring steps for both residential and commercial buildings.
Protecting Your Home’s Health
Water dripping from a ceiling or wall crack can seem minor at first, but hidden moisture quickly leads to bigger problems. By identifying the source early, taking fast containment steps, and applying the right repair methods, you can safeguard your home’s structure and air quality. Keep a regular inspection schedule, manage humidity, and maintain your roof and plumbing systems year-round. A dry ceiling is more than comfort — it’s peace of mind and the sign of a healthy, well-kept home.