Set Up a Small Garage Workshop in 2026: Complete Guide Now
Turning a garage into a practical workshop is one of the best upgrades a DIYer can make. A well-planned garage shop boosts project speed, makes storage manageable, and keeps tools ready. This guide walks you through every step: planning, layout, lighting, dust control, tools, and budgeting.
Follow tested layouts and simple systems so your small space feels larger and works harder. Whether you want a weekend hobby shop or a year-round workspace, the right plan avoids wasted money and hours of frustration.
1. Start by Evaluating and Clearing Your Space
Before buying anything, evaluate the garage as it is. Walk the floor plan. Note where the garage door opens, where windows sit, and where electrical outlets are located. Measure ceiling height and usable floor space. Check the door swing and any obstructions that limit movement.
Next, declutter. Remove seasonal items, excess storage boxes, and anything you no longer need. Donate, sell, or relocate items that don’t belong in a workshop. Clearing the space reveals true capacity. It also helps you visualize zones for cutting, sanding, and assembly.
Assess utilities and safety
Look at electrical capacity and outlets. A typical garage might need upgraded circuits for a table saw, dust collector, or air compressor. Note lighting and possible ventilation points. Check the floor for cracks and the door seal for insulation gaps. These small checks save surprises later.
Define the workshop zone
If your garage doubles as parking space, set a clear workshop zone. Use floor tape or temporary markers to define the work area. This helps you pick bench placement and tool locations that keep the vehicle footprint intact. Mobile tool bases and fold-down benches let you switch modes when you need to park.
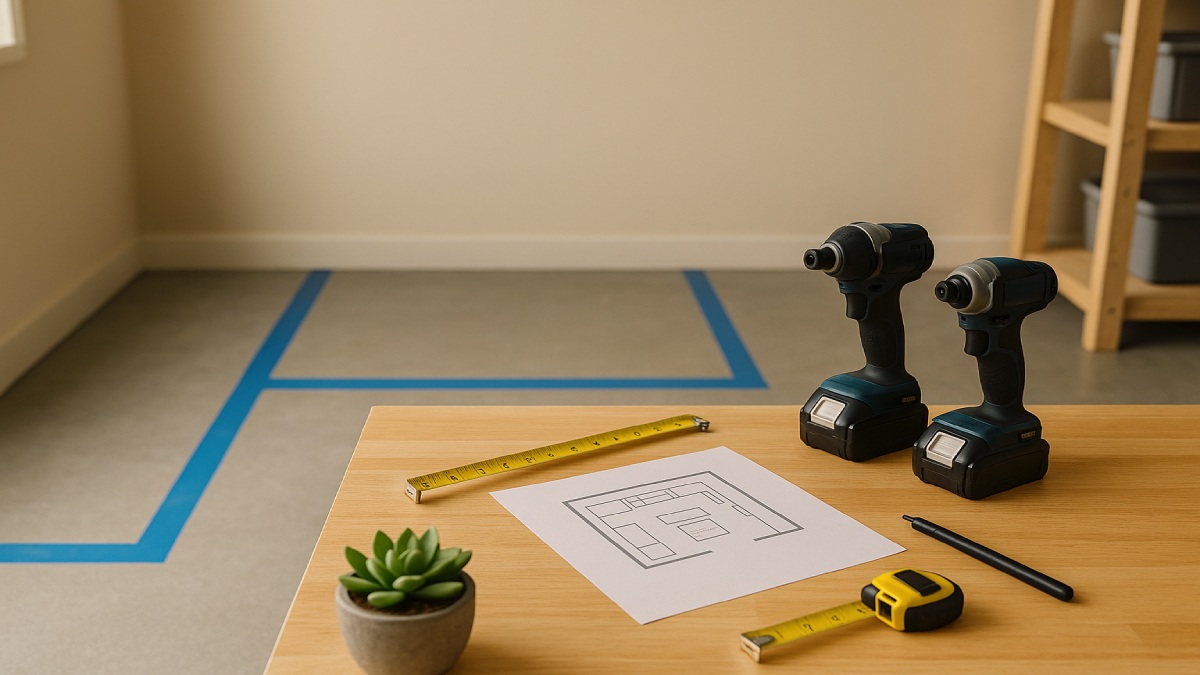
2. Plan an Efficient Layout and Workflow
Layout is the foundation of a usable workshop. Think in terms of workflow: stock → cutting → assembly → finishing. Map these zones on paper or with simple floor-plan software. The goal is clear, safe paths between major stations.
Perimeter-first approach
Place heavy or stationary tools along walls: miter saw, table saw (if space allows), dust extractor, and lumber racks. This frees central floor space for assembly and material movement. Mount pegboards and slat walls above benches to keep hand tools visible and accessible.
Work triangle and task flow
Organize a loose triangle between the main workbench, cutting station, and tool storage. This reduces walking and keeps the most used items within reach. For a one-car garage, push bench and saw to one side and use foldable work surfaces when needed.
Mobile and modular options
Use mobile bases and rolling carts to change the layout quickly. A rolling outfeed table doubles as a material staging area. Consider sliding or folding benches that tuck away when not in use. These choices let a single bay serve both car and workshop needs.
3. Build or Choose the Right Workbench
The workbench is the heart of the workshop. Pick a bench that is sturdy, at the right height, and located for the best light. Standard bench height is about 34–36 inches for general work; adjust for your height if you do heavy planing or hand work.
Workbench placement
Place the bench near a window or under good task lighting. Leave clearance on at least two sides so you can move materials freely. Put power strips and charging stations within arm’s reach.
Fixed vs mobile benches
Fixed benches are more stable for pounding and planing. Mobile benches on heavy-duty casters let you reposition the bench for different projects. A hybrid approach works well: anchor one bench for heavy tasks and keep a smaller, mobile bench for prep and assembly.
Top surfaces and extras
Good bench tops are plywood faced with hardwood or thick MDF. Add bench dogs, a vise, and a power strip. Mount tool holders on the bench edge for quick access to commonly used items like hammers and screwdrivers.
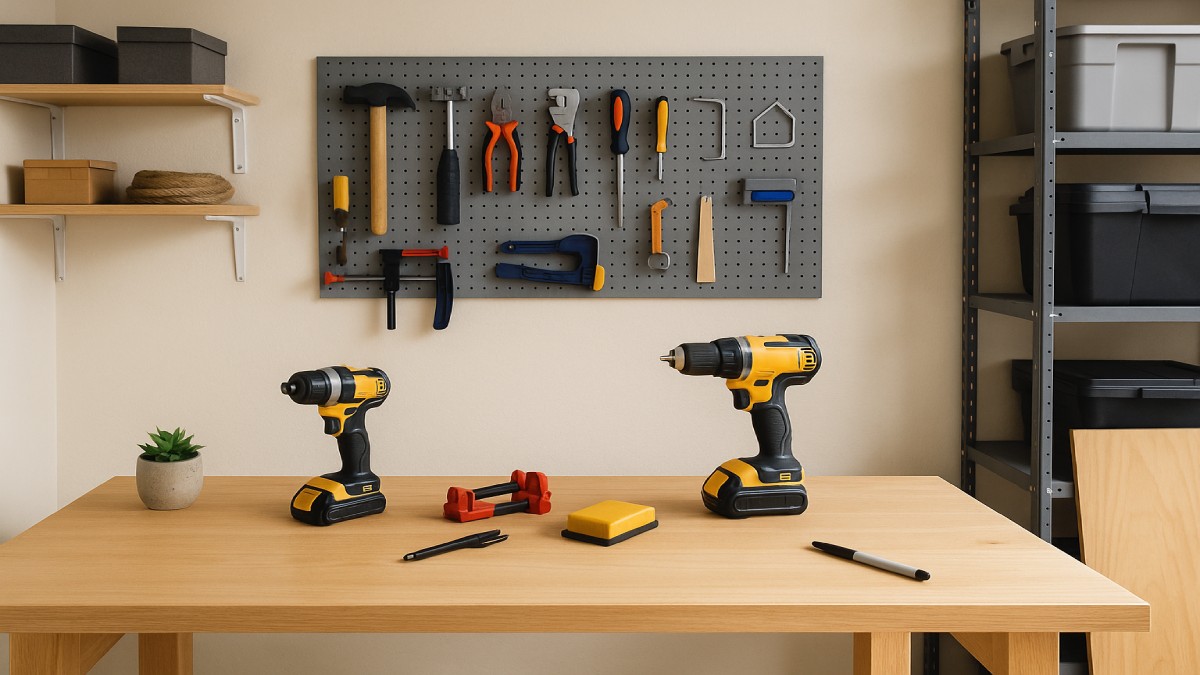
4. Maximize Storage: Walls, Overhead, and Mobile
Storage wins small workshop battles. Use vertical space aggressively. Pegboards, slatwall systems, and magnetic strips keep tools visible and off the bench. Group tools by function and label zones for fast retrieval.
Pegboard and slatwall systems
Pegboards are low cost and flexible. Slatwalls hold heavier hooks and bins. Arrange hand tools on pegboard near the bench. Store jigs, clamps, and measuring tools on slatwall toward the cutting area.
Overhead and ceiling storage
Install overhead racks for seasonal items and bulky bins. Ensure the installation is rated for the load and leaves room for door operation. For lumber, consider a long overhead or wall rack—store longer stock horizontally to keep center space clear.
Rolling tool chests and modular carts
Rolling chests give you the mobility to move tools to the job. Use labeled drawers for small items like drill bits, screws, and blades. Keep heavy items low to prevent tipping. Use foam organizers for fragile measuring equipment.
Hidden storage and multipurpose solutions
Fold-down benches, nested storage bins, and under-bench cabinets maximize every inch. Create a small drawer for jigs you frequently use so you never waste time hunting for them. A simple labeling system makes a huge difference in efficiency.
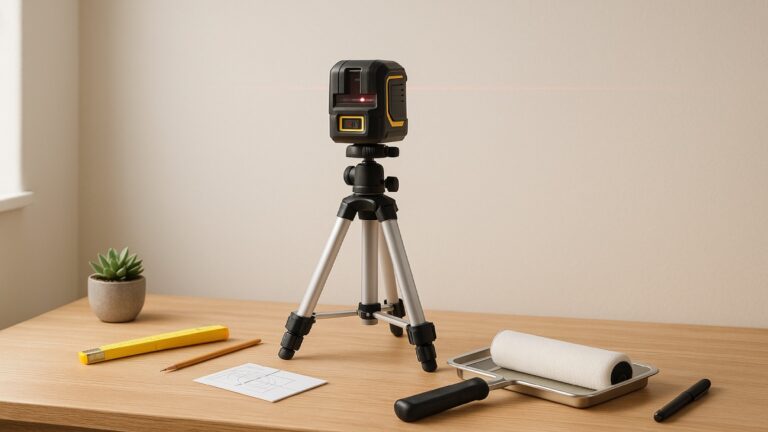
5. Light, Power, and Ventilation
Light and power are essential to accurate work and safety. Install even, shadow-free lighting over work zones. LED shop lights provide bright output and run cool. Position fixtures so they cast light over benches and saws, not behind you where shadows form.
Task lighting and color temperature
Use LED fixtures with 4000K to 5000K color temperature for near-daylight appearance. Add adjustable task lights at the bench and miter saw. Good lighting reveals grain when you plane wood and shows finish flaws when you sand.
Electrical planning
Add dedicated circuits for heavy tools like a table saw or dust collector. Install multiple GFCI-protected outlets around the bench at 4–6 foot intervals. Consider a professional electrician if you need 240V outlets or a subpanel for continuous heavy duty work.
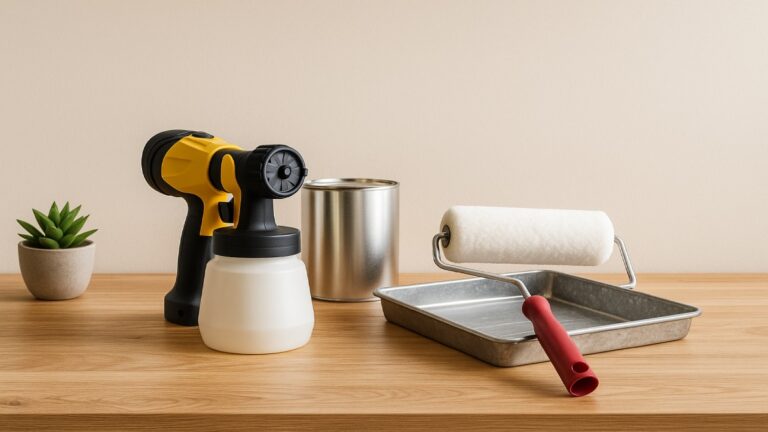
Ventilation and air movement
Good airflow prevents fumes and dust buildup. If you use finishes, position an exhaust fan or open the garage door with a box fan to pull air out. During sanding, use a portable dust extractor with a HEPA filter or a shop vac with a fine filter. For long or frequent finishing, consider a small filtered spray booth or paint tent.

6. Flooring, Insulation, and Comfort
Good flooring and insulation extend workshop usability. A sealed concrete floor with epoxy or interlocking tiles cleans easily. Anti-fatigue mats in front of the bench reduce strain during long standing sessions.
Floor options
Epoxy coatings resist stains and make cleanup easier. Interlocking polypropylene tiles are quicker to install and can be replaced individually. For a budget option, roll-out garage mats protect the floor and cushion your feet.
Insulation and climate control
Insulate the garage door and walls to reduce temperature swings. Add weatherstripping to doors and windows. A small wall heater or a ductless mini-split can make the space comfortable year-round. In humid areas, a dehumidifier protects wood and keeps finishes curing predictably.
7. Dust Control and Safety Infrastructure
Dust is the single biggest threat to health and finish quality in a garage workshop. Start with source capture. Use a dust extractor or shop vac on sanders, planers, and miter saws. Small table saws and benchtop planers benefit from hose adapters and blast gates to concentrate suction where it matters.
Choose the right dust system
For most small shops, a mid-size dust extractor with automatic on/off and HEPA filtration is a great balance. A shop vac with a fine filter works for sanders and small tasks. If you run big machines often, step up to a two-stage dust collector with a cyclone separator.
Air filtration and PPE
Install a ceiling or wall air cleaner to remove fine particulates that escape the extractor. Use quality respirators for sanding and spraying. Keep hearing protection and safety glasses at the bench. Store a Class A fire extinguisher near the exit.
Safe tool operation
Follow tool safety: use push sticks, featherboards, and guards on saws. Clamp small work rather than holding it by hand. Keep a first-aid kit accessible. Train family members on zones that are off-limits when the workshop is active.
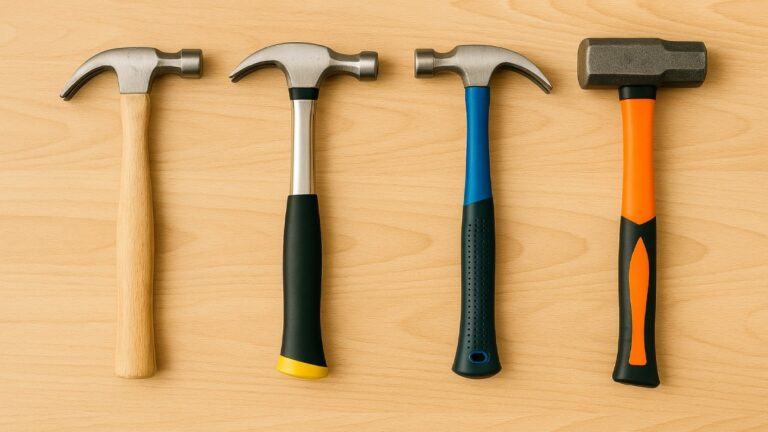
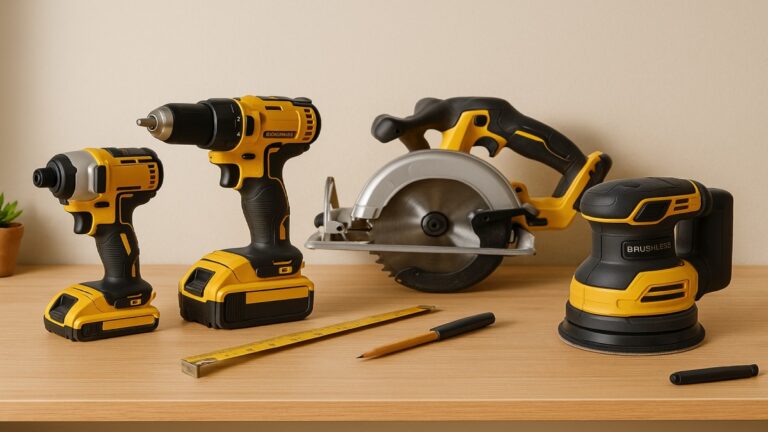
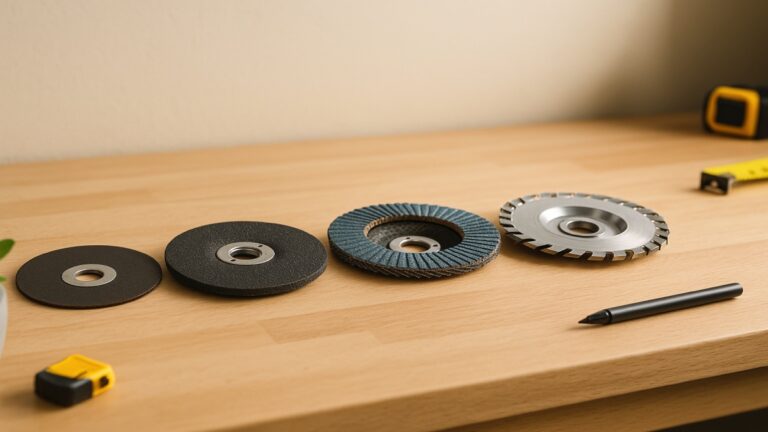
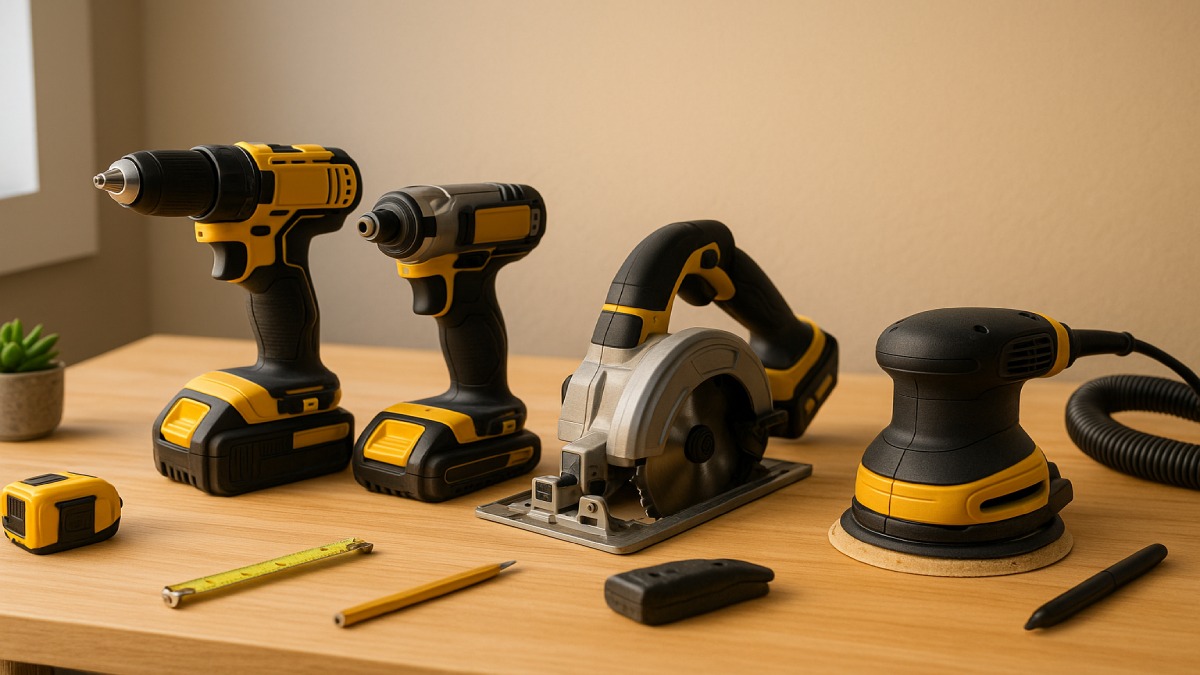
8. Tools to Start With — Space-Smart Choices
Start with a core set of space-efficient tools that cover most tasks. Pick cordless options for portability if you prefer minimal cords. Also think about a single battery platform to reduce costs long term.
Essential starter tools
- Drill/impact driver combo
- Circular saw or track saw (track saw if you do finish work)
- Random-orbit sander
- Oscillating multi-tool
- Shop vac or small dust extractor
Space-saving upgrades
If you have room later, add a compact miter saw, a benchtop router table, or a compact table saw. For many small shops, a good track saw replaces a full-sized table saw and saves floor space.
Tool storage and maintenance
Keep batteries charged and labeled. Store blades and bits in labeled cases. Clean tools after each use and replace worn blades for cleaner cuts. Regular maintenance extends tool life and keeps results consistent.
9. Flexible Designs for Shared Garages
Many homeowners need the garage to remain multi-use. Mobile tables, fold-down benches, and sliding tool carts let you reclaim space for vehicles. Use leveling casters so heavy machines can move without damage to the floor.
Quick convert ideas
Locking casters let you move a miter saw to the center for a day’s work, then roll it back against the wall. Use fold-down workbenches to free floor area at night. Create a clear pathway for the car and mark it with floor paint so tools don’t wander into parking zones.
Security and storage for valuables
Store power tools in lockable cabinets if you keep valuables in the garage. Anchor heavy cabinets to the wall. If your garage is attached, consider additional door locks and alarm sensors on workshop doors.
10. Budgeting and Phased Upgrades
Plan purchases in phases to avoid overspending. Start small and add capability as you learn your real needs. Base your budget on the scope of projects and how often you’ll use the shop.
Starter budget ($500–$1,500)
Basic lighting, a solid bench, a drill/impact combo, a circular saw or track saw, and a small shop vac. This setup covers most beginner woodworking and repairs.
Upgrade budget ($1,500–$3,500)
Better dust collection, a compact miter saw, solid wall storage, mobile tool carts, and improved lighting. Add more batteries and a faster charger for cordless platforms.
Full conversion ($3,500+)
Electrical upgrades, insulation, a table saw or professional table system, a high-capacity dust collector, and dedicated HVAC. At this level, the shop feels like a separate workspace and supports heavier production.
FAQs — Quick Answers
Do I need a permit to create a workshop in my garage?
Most simple setups don’t need permits, but check local codes for electrical upgrades, permanent HVAC, or structural changes. Running heavy machinery or adding new circuits sometimes triggers permit requirements.
How do I control humidity for woodworking?
Use a dehumidifier in humid climates and proper ventilation. Insulation helps stabilize temperatures. For sensitive projects, store wood and finished items inside a cabinet or controlled area.
Can I use cordless tools in a garage shop?
Yes. Cordless tools offer flexibility and simplify layout. Keep several batteries charged and consider a fast charger to avoid downtime. Corded tools are still ideal for continuous, high-power machines.
What’s the smallest workable garage size?
A single-car garage can host a useful workshop if you prioritize vertical storage and mobile workstations. A one-car layout typically needs careful zoning but supports most hobby projects.
Conclusion — Start Small, Plan Smart, and Improve Over Time
Setting up a small garage workshop is a manageable, highly rewarding project. Start with a clear plan: declutter, map workflow, and secure essential lighting and dust control. Invest in a solid workbench and a compact set of tools that match your projects.
Grow the space in phases. Add smarter storage, better dust extraction, and heavier machines once you know what you actually use. With the right layout, tools, and safety systems, your garage can become a productive, year-round workshop that fits your life and your projects.