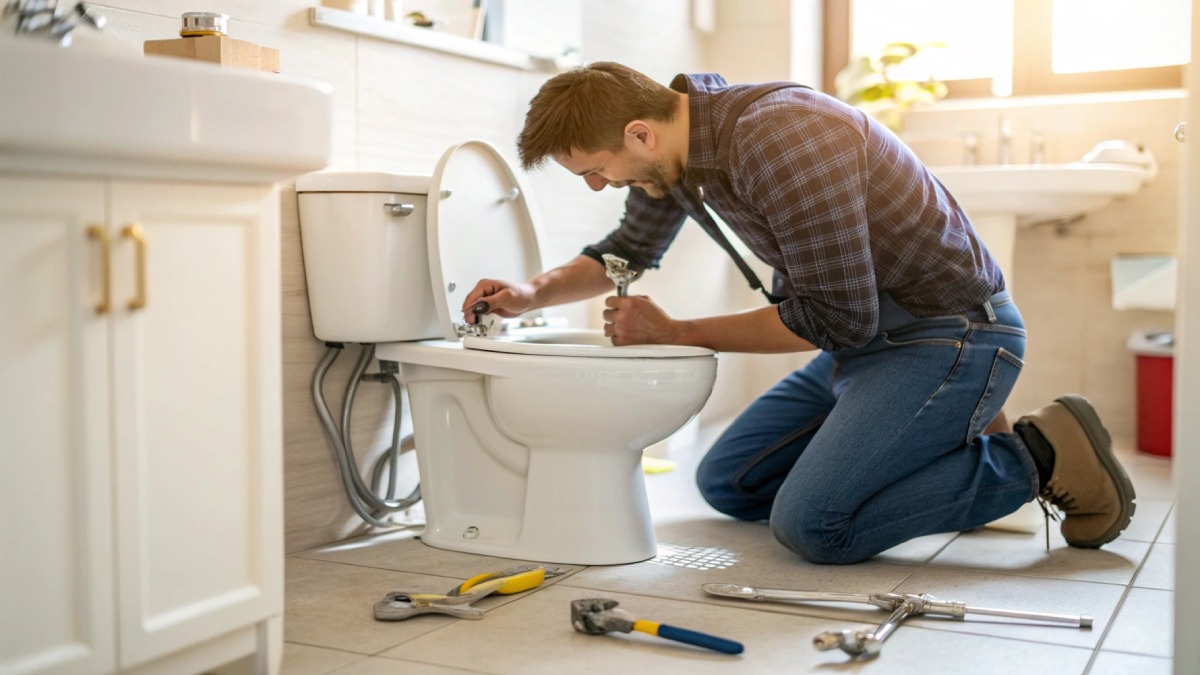
How to Repair a Running Toilet Without Calling a Plumber
A toilet that won’t stop running wastes water and money. The constant trickle is more than a nuisance. It’s a leak you can fix with simple steps, basic tools, and a calm approach. This guide shows you how to diagnose the issue, replace the right parts, and stop the noise for good.
Why Your Toilet Keeps Running
Most running toilets fail for a few predictable reasons. Once you know the usual culprits, you can fix the problem fast. Here are the issues you’ll likely find inside the tank:
- Worn flapper seal: The rubber flapper no longer seals the flush valve, so water slips into the bowl and triggers constant refills.
- Faulty fill valve: The valve that refills the tank does not shut off when it should, so the tank never reaches a true “stop.”
- Tight or tangled chain: The lift chain prevents the flapper from closing fully, so the seal never forms.
- High water level: Water flows into the overflow tube and forces the refill cycle to repeat.
- Mineral buildup: Hard water leaves deposits on moving parts, which keeps valves from sealing or sliding freely.
Quick fact: A single running toilet can waste thousands of gallons each month. A 10-minute repair often stops the loss immediately.
How the Tank Works (Simple Anatomy)
Lift the lid and you’ll see a straightforward system. The handle and chain lift the flapper valve. The fill valve refills the tank. The float rises with the water and shuts the fill valve when the level reaches the target line. The overflow tube protects against overfilling. If any one piece fails, water continues to move when it should stop.
Fast Diagnosis Before You Grab a Wrench
Run through this quick check to pinpoint the problem. Clear diagnosis saves time and avoids extra part swaps.
- Listen closely: A steady trickle suggests a poor flapper seal. Short bursts every few minutes point to a slow leak or high water level.
- Dye test: Add a few drops of food coloring to the tank. Wait 10–15 minutes. Color in the bowl means the flapper leaks.
- Check the water line: The level should stop about 1 inch below the top of the overflow tube.
- Inspect the chain: Leave about 1/2 inch of slack with the flapper fully seated. A tight chain keeps the flapper from closing.
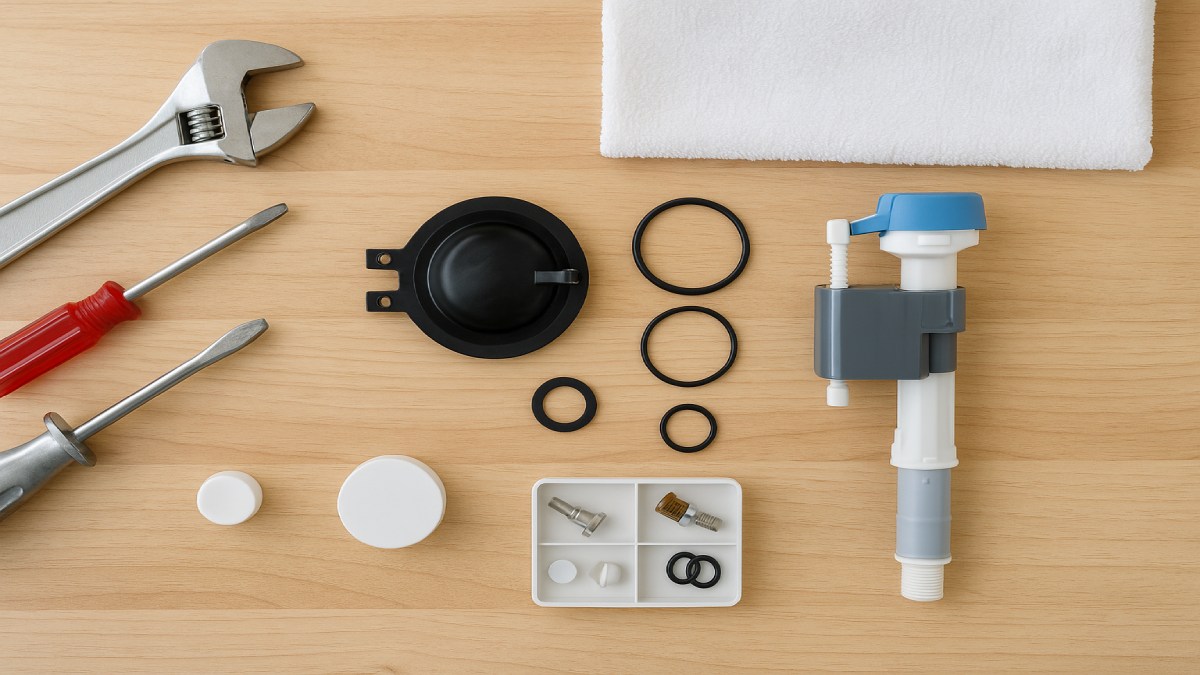
Tools and Materials
| Tools | Adjustable wrench, flathead screwdriver, pliers, towel or small bucket |
| Materials | Replacement flapper, plumber’s grease, optional fill valve kit, cleaning cloth, white vinegar (for mineral buildup) |
Safety first: Turn the shut-off valve clockwise to stop water before you open the tank. Flush once to drain most of the water.
Step-by-Step: Fix a Running Toilet
Step 1: Turn Off the Water Supply
Find the small valve on the wall or floor behind the toilet. Turn it clockwise until it stops. Flush once to empty the tank. Use a towel to remove any remaining water in the bottom of the tank so parts stay dry while you work.
Step 2: Remove the Tank Lid and Inspect
Set the lid on a folded towel to avoid chips. Watch how the chain, flapper, and float move when you press the handle. A chain that snags or a flapper that fails to seat often explains the running sound.
Step 3: Adjust the Chain for a Clean Seal
Unclip the chain and reattach it with a little slack. Aim for about half an inch when the flapper rests on the seat. Pull the handle and release it. The flapper should drop and seal on its own. If it snags, move the clip to a different link and test again.
Step 4: Replace a Worn Flapper
Lift the old flapper off the overflow tube pegs and unclip the chain. Wipe the valve seat with a soft cloth. Install a new flapper of the same size, hook it onto the pegs, and re-attach the chain. This single part swap stops most running toilets.
Tip: If the flapper looks swollen, stiff, or slimy, replace it even if it passes the dye test. Rubber breaks down over time and loses its seal.
Step 5: Set the Water Level Correctly
Turn the water on briefly and watch the refill. If water spills into the overflow tube, lower the float. On a float-cup valve, turn the adjustment screw on top. On a ball float, bend the arm gently downward. Refill again and confirm the water stops about 1 inch below the tube.
Step 6: Clear Mineral Buildup
Hard water leaves deposits that cause sticky performance. Turn the water off. Remove the fill-valve cap and rinse the parts with a white vinegar solution. Wipe the flapper seat and flush valve area. Reassemble and test the fill again.
Step 7: Test Several Flushes
Restore the water supply. Let the tank fill. Listen for silence after the refill stops. Flush two or three times. The tank should fill, stop cleanly, and stay quiet. If you still hear movement, revisit the chain, flapper seat, or float height until the seal holds.
Quick Wins With No Tools
- Press the flapper down firmly to re-seat the seal if the tank starts running suddenly.
- Lift the float slightly to help the fill valve shut off so you can diagnose at a calmer pace.
- Jiggle the handle to free a tangled chain and let the flapper drop.
Advanced Repairs When the Basics Don’t Work
If your toilet still runs after a new flapper and a correct float level, upgrade these parts:
- Replace the fill valve assembly: Modern universal kits are affordable and include clear instructions. This swap takes about 15 minutes.
- Inspect the flush valve seat: A cracked or pitted seat will never seal well. Replace the flush valve if the surface looks damaged.
- Check the tank-to-bowl gasket: If you notice moisture between tank and bowl, replace the large rubber gasket and the bolts with new washers.
Cost guide: Most DIY fixes stay under $25. A complete rebuild kit (fill valve, flapper, seals) solves nearly every issue and still costs less than a service call.
Prevent the Problem From Returning
Small habits keep your toilet quiet and efficient. Set a reminder for light maintenance and you’ll avoid most surprises.
| Task | Frequency | Why It Helps |
|---|---|---|
| Inspect the flapper | Every 6 months | Stops silent leaks before they waste water |
| Clean fill valve | Once a year | Removes mineral buildup and keeps flow smooth |
| Check float height | Twice a year | Prevents water from entering the overflow tube |
| Replace flapper | Every 3–5 years | Maintains a reliable seal at the flush valve |
| Food-coloring test | Yearly | Detects invisible leaks early |
Troubleshooting Snapshot
| Symptom | Likely Cause | Fix |
|---|---|---|
| Constant trickle in the bowl | Leaky flapper | Install new flapper, clean the valve seat |
| Periodic refills every few minutes | High water level or slow leak | Lower the float; check flapper seal |
| Handle feels loose | Chain too long | Shorten chain to allow a full seal |
| Water entering overflow tube | Float set too high | Adjust to stop 1 inch below the tube |
FAQ
Why does my toilet start running randomly?
Water leaks past the flapper and lowers the level. The float drops and asks the fill valve to top off the tank.
Can high water pressure cause a running toilet?
Yes. Extra pressure can push water past seals and delay shutoff. A pressure regulator can help.
What if I replaced parts and it still runs?
The flush valve seat or overflow tube may be damaged. Replace the flush valve or consider a full rebuild kit.
Is an older toilet worth fixing?
Many are, but if the unit is very old, a new water-saving model can reduce bills and future repairs.
Wrap-Up
Fixing a running toilet feels great because the results are instant. You stop the sound, cut waste, and gain confidence with home repair. Follow these steps, set the water level correctly, and keep parts clean. Your bathroom will stay quiet and efficient for years.
HomeFettle — Crafting Homes with Heart and Hands.