Make a Framed Corkboard Organizer for Your Workspace
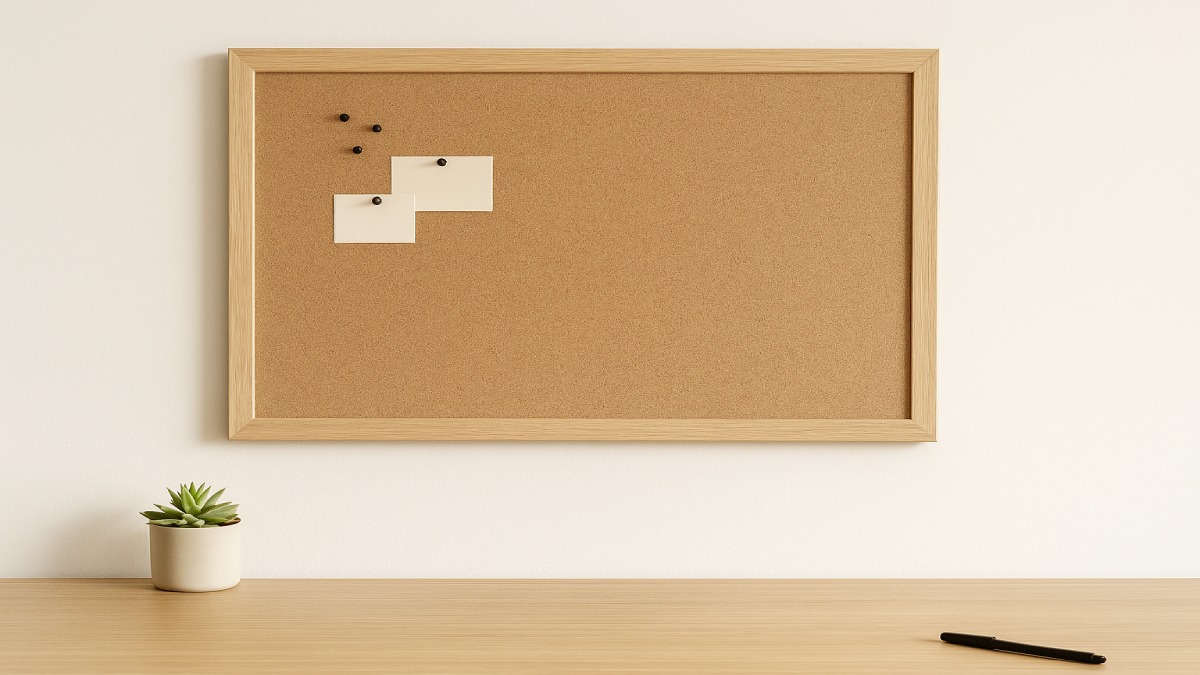
A framed corkboard organizer is one of the most practical additions you can bring into a workspace. It offers a place to pin reminders, track progress, manage tasks, and keep visual inspiration within reach. Many homeowners and DIY enthusiasts appreciate the blend of creativity and utility this simple project provides. With the right materials and a little patience, you can build a corkboard that fits your wall space, complements your décor, and keeps your office running smoothly.
This guide walks you through the entire process of making a custom framed corkboard organizer—from choosing the right cork and preparing the backing board to assembling the frame and mounting the final board securely. You’ll also learn design variations, style ideas, cost insights, and helpful tips to avoid common DIY mistakes.
Why Make a Framed Corkboard Organizer?
A framed corkboard helps create a more organized and visually productive environment. It pulls tasks, reminders, and important notes off your desk and onto the wall, which frees up space and improves workflow. Many people also use corkboards as mood boards for visual planning, project mapping, or creative inspiration. A framed version looks polished and blends seamlessly into modern home office décor.
DIY builders appreciate how customizable a corkboard can be. You can match it to the size of your wall, pick a frame style that fits your aesthetic, and modify it with pockets, labels, or color accents. With the steady interest in home workspace design, corkboards continue to serve as dependable, stylish organizers.
The Advantages of DIY vs Buying Premade Boards
Building your own framed corkboard gives you control over quality, materials, and dimensions. Store-bought boards are often made with thinner cork that wears out quickly, especially when used daily. Many also feature lightweight frames that bend or loosen over time. When you make one from scratch, you can use high-density cork and a solid backing board to ensure durability.
Cost is another advantage. A custom-sized framed corkboard can become expensive when purchased from specialty shops or handmade sellers. DIY versions often cost far less and still feel premium once installed.
Popular Styles and Design Trends for Modern Workspaces
Home office design trends show a shift toward simple, functional boards with clean frames and neutral tones. Fabric-wrapped corkboards have gained traction because they introduce texture and softness. Some homeowners create mixed-material organizers by combining cork, pegboard, and dry-erase or whiteboard sections for versatile workwalls. Modular layouts, such as placing two or three framed boards in a grid pattern, are increasingly common as people need more vertical organization space.
Tools, Materials, and Choosing the Right Cork
Before building your corkboard, gather all materials and tools in one place. Working with the right components ensures that the board feels sturdy, holds pins securely, and hangs safely on the wall.
Recommended Tools
- Sharp utility knife or heavy-duty craft knife
- Metal straightedge or long ruler
- Carpenter’s clamps
- Measuring tape
- Wood glue or spray adhesive
- Miter saw for custom frame pieces
- Sanding block
Choosing the Right Cork: Sheet, Tile, or Roll?
Cork sheets offer the best performance for a framed board because they come in high-density options that grip pins securely. A thickness around one-quarter inch gives you a stable and long-lasting pin surface. Rolls are cheaper but often lack the density needed for firm pinning. Cork tiles allow modular setups and can create interesting patterns, though you’ll need to line them up carefully to avoid visible seams.
Backing Board and Frame Options
A reliable corkboard requires a supportive backing board. Plywood and MDF both work well because they prevent warping and hold adhesives firmly. For the frame, you can buy a pre-made picture frame or build one using wood moulding. Frames that match existing furniture in your workspace help the board blend in naturally, while painted or stained frames allow for quick personalization.
Step-by-Step Guide — Make a Framed Corkboard Organizer
The process of creating a framed corkboard is simple when broken into manageable phases. Below is a detailed guide covering everything from measurements to mounting.
Step 1 — Measure and Plan Your Corkboard
Start by deciding on the final size. Consider the amount of wall space available and how you plan to use the organizer. If you want separate zones for tasks, notes, or inspiration, sketch your layout on paper before cutting materials. To visualize the board on your wall, place painter’s tape in the shape of your intended dimensions. This helps you confirm size and placement before you commit to construction.
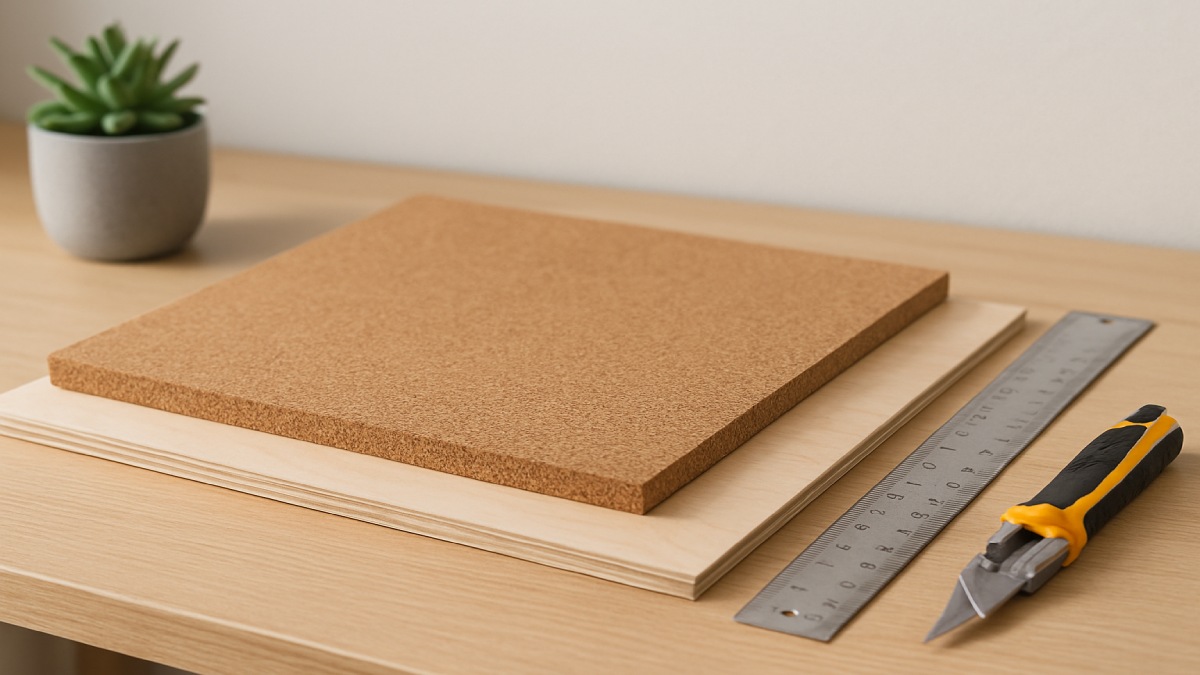
Step 2 — Cut the Cork and Backing Board
Use a straightedge and a sharp utility knife to cut your sheet of cork. Press firmly, but avoid rushing the cut to prevent jagged edges. Next, cut your MDF or plywood backing board to the same size. When both pieces are ready, bond the cork to the backing using spray adhesive or contact cement. Apply pressure evenly across the entire surface to create a flat, uniform panel.
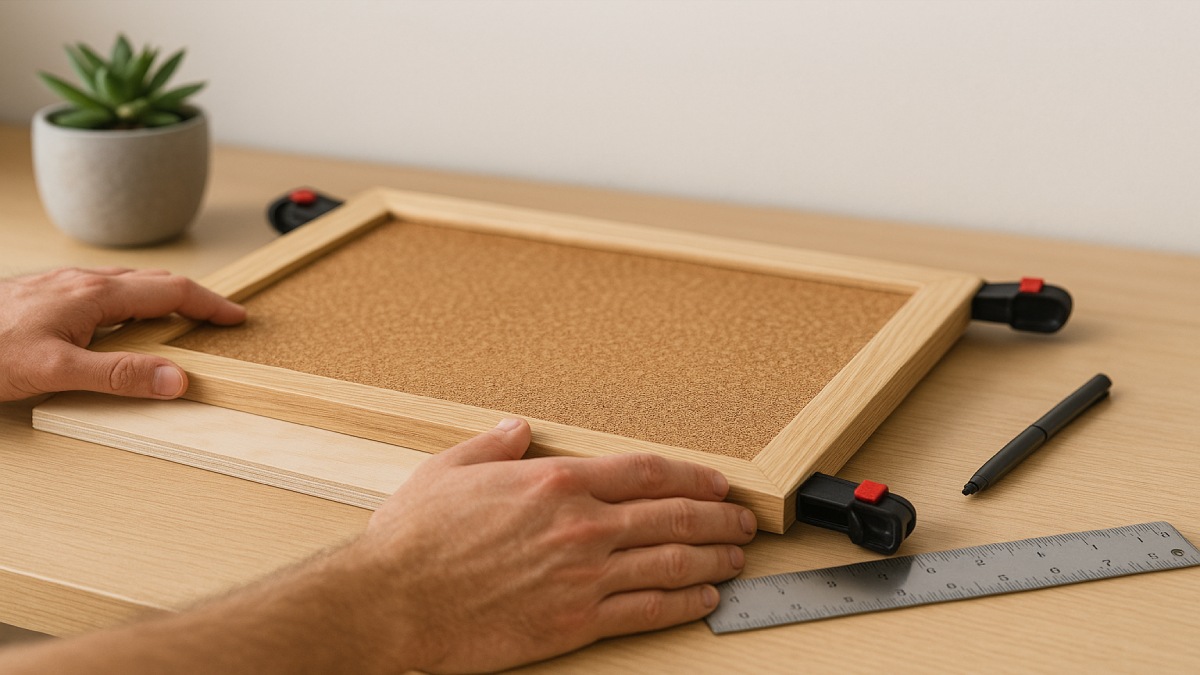
Step 3 — Build or Prepare the Frame
If you’re constructing a frame from moulding, cut the pieces with mitered corners for a clean fit. Apply wood glue and clamp the corners while they dry. Reinforce the joints with brad nails for added strength. For a faster alternative, remove the glass from a picture frame and insert your cork panel once it’s fully assembled. Sand any rough spots on the frame and finish it with paint or stain if desired.
Step 4 — Assemble the Corkboard Panel
Slide your cork-and-backing panel into the frame. If you made the frame yourself, attach the panel using wood glue around the inner lip. Clamp as needed until the adhesive dries. Check that the cork sits flush with the frame edges and that there are no gaps along the perimeter. This step ensures a clean and polished finish once the board is hung.
Step 5 — Add Optional Functional Features
Enhance your corkboard with add-ons that support your workflow. Fabric pockets provide a place for letters or notes. A slim whiteboard strip works well for quick reminders or lists. Washi tape helps divide the cork into sections for schedules or project checkpoints. Pegboard accessories, such as small trays or hooks, work nicely with hybrid organizers when positioned near the edge of the frame.
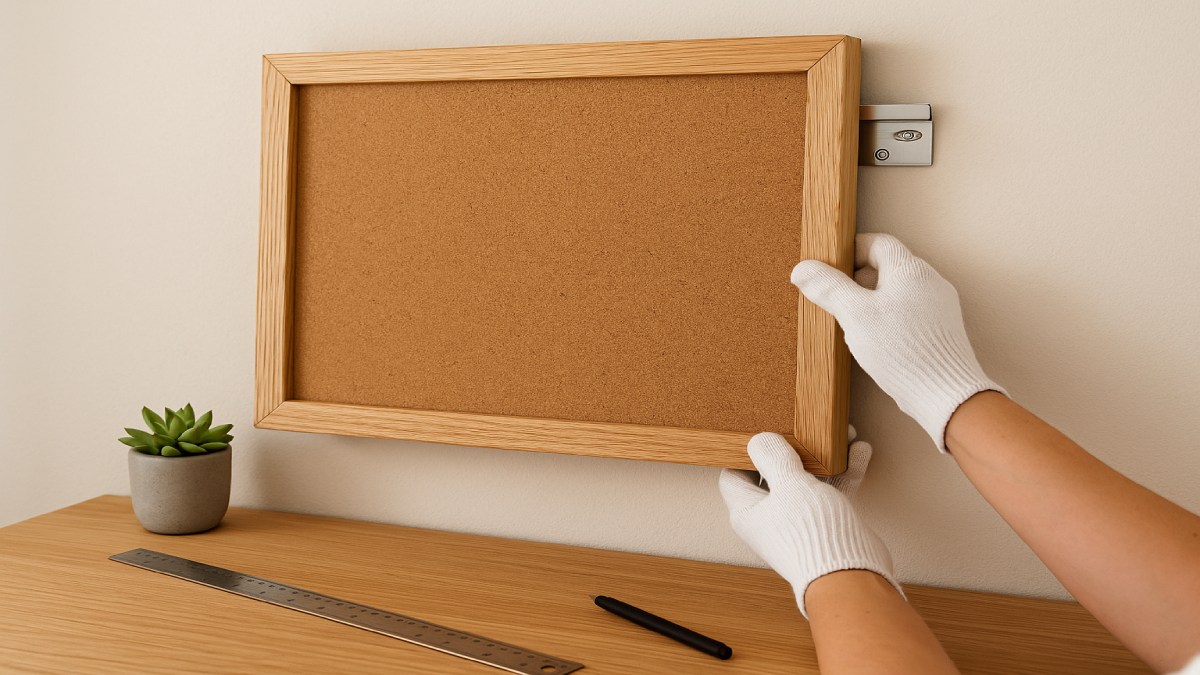
Step 6 — Mount the Board Safely
A French cleat is the most secure mounting method for heavier corkboards with solid frames. Attach one part of the cleat to the wall and the complementary piece to the back of the board. For lighter boards, D-rings or keyhole hangers typically suffice. Use a level throughout the process to ensure the board hangs straight. If mounting on drywall, choose anchors that match your board’s weight.
Corkboard Variations and Style Ideas
One of the best parts of making a framed corkboard organizer is customizing its final appearance. You can keep it simple with a minimalist frame and natural cork surface or explore creative upgrades. A fabric-wrapped board introduces color and texture. Modular boards arranged in a grid create a striking feature wall. Hybrid designs that combine cork with whiteboard or pegboard panels bring versatile functionality to the workspace.
Fabric-Wrapped Corkboards
Fabric-wrapped corkboards add sophistication while hiding seams or imperfections in the cork. Choose fabrics like linen, canvas, or cotton blends for a crisp look that holds up well over time. Wrap the fabric tightly around the cork panel before framing it, ensuring smooth edges and uniform tension.
Modular Multi-Panel Cork Walls
A multi-panel layout works nicely for larger walls or creative workspaces. You can install multiple framed boards in a grid or linear pattern to create zones for tasks, inspiration, or reference material. This approach also provides flexibility to rearrange the panels over time as your needs change.
Common Mistakes to Avoid When Making a Corkboard
While building a framed corkboard is straightforward, a few common missteps can affect the final quality. Here are the most frequent issues and how to prevent them.
Using Thin Cork That Won’t Hold Pins
Low-density cork or thin rolls tend to bend, tear, or lose grip. Always opt for high-density cork at least one-quarter inch thick to ensure lasting performance.
Skipping the Backing Board
A backing board keeps the cork firm and prevents the surface from flexing when you push in pins. Without it, the cork may warp or crack over time, especially in humid environments.
Poor Mounting Methods
Lightweight hooks or adhesive strips may fail under the weight of a framed corkboard. A French cleat or durable hangers are far more reliable, especially if the frame is made of solid wood.
Overloading the Board
Pinning too many items can stress the cork and frame. Spread your notes evenly to reduce pressure on any one area and keep the board looking tidy.
Cost Breakdown — DIY vs Store-Bought
Building a framed corkboard organizer allows you to control the budget while still creating a high-quality product. Material costs vary depending on the size, frame type, and extras you choose.
DIY Cost Range
A small to medium framed corkboard can cost around forty to one hundred twenty dollars when built with retail materials. Those who source cork sheets or frame pieces in bulk may reduce costs even more. Spray adhesive and mounting hardware add only a modest amount to the total budget.
Custom or Store-Bought Pricing
Custom framed corkboards range from seventy dollars to well over two hundred dollars depending on the size and frame material. Store-bought boards at home goods retailers cost less but usually lack the density and durability of a DIY board. By building it yourself, you gain both quality and customization without the higher price tag.
FAQs About Making a Framed Corkboard Organizer
How thick should my cork be for a corkboard?
A quarter-inch thickness offers reliable pin-holding strength and durability for daily use. Thinner cork tends to wear out faster.
Can I make a corkboard without a frame?
Yes. Frameless cork tiles can be arranged directly on a wall for a clean, modern look. For a polished appearance, a frame adds structure and visual appeal.
Can I use cork tiles instead of a sheet?
Cork tiles work well and offer flexibility in layout. Align them carefully to avoid gaps or uneven seams before securing them to the backing.
What’s the best way to mount a heavy corkboard?
A French cleat system is reliable and simple to install. It supports the weight evenly and keeps the board stable over time.
How do I keep cork from drying out or crumbling?
High-density cork holds up well and is resistant to drying. Keep the board away from direct sunlight and excessive moisture for longer life.
Conclusion — A Stylish DIY Upgrade That Keeps You Organized
A framed corkboard organizer brings structure, style, and productivity to any workspace. By building it yourself, you can tailor the size, materials, and design to match your needs perfectly. The project is beginner-friendly, budget-conscious, and rewarding to complete. With a solid frame, quality cork, and thoughtful features, your custom corkboard will serve as a dependable hub for ideas, reminders, and inspiration.
Once installed, your framed corkboard becomes far more than a simple wall accessory. It becomes a tool that supports focus, creativity, and daily planning. You may even find yourself inspired to build complementary pieces like floating shelves, small organizers, or a full task wall to complete your workspace setup.