Install CO Alarms Correctly and Test Them Regularly at Home
Carbon monoxide (CO) is an invisible, odorless gas produced by fuel-burning appliances and engines. Because it’s impossible to sense without instruments, a properly installed and regularly tested CO alarm is the single most important safeguard you can add to your home. Getting placement wrong—or skipping routine tests—can mean a detector doesn’t alert you when it matters most.
This guide walks you through the exact locations to install alarms, mounting height and spacing rules, wiring or battery options, interconnection, and a practical schedule for testing and maintenance. You’ll also learn how to handle special spaces such as bedrooms over garages, basements with furnaces, short-term rentals, and multi-story homes.
Why CO alarms are essential
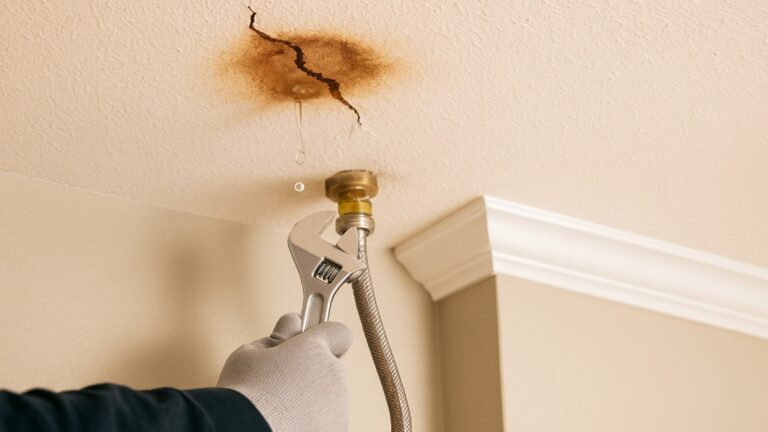
Improperly vented or malfunctioning furnaces, stoves, fireplaces, water heaters, portable generators, and vehicles in attached garages can generate carbon monoxide. Even small concentrations over time can cause headaches and fatigue; higher concentrations can overwhelm quickly. Alarms provide early warning so you can ventilate, shut down the source, and exit if needed.
Fast facts:
- CO is lighter than air when warm and quickly mixes throughout a room—location and height rules focus on proximity to people, not just ceiling height.
- Modern alarms display parts per million (ppm) and store peak readings, which is useful for diagnosing recurring problems.
- Combo smoke/CO units can simplify coverage when placed correctly for both hazards.
Where CO alarms should go
Minimum coverage
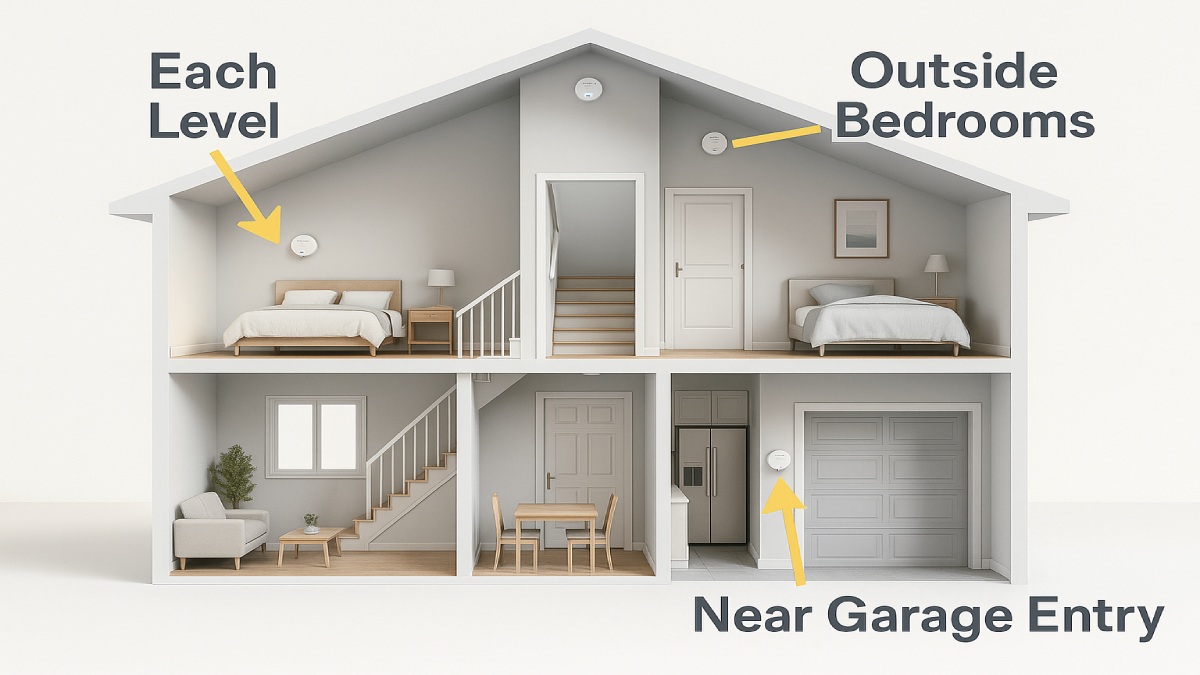
- Every level: Install at least one CO alarm on each floor, including basements and finished attics.
- Sleeping areas: Place an alarm in the hallway outside bedrooms or inside each bedroom if doors are often closed.
- Near fuel appliances: Keep at least 10–15 feet away from furnaces, gas ranges, fireplaces, or space heaters to avoid nuisance trips yet still capture dangerous buildup.
Rooms that need special attention
- Over/adjacent to garages: Install an alarm in rooms above an attached garage and near the interior door from garage to house.
- Basements with equipment: Put an alarm on the basement level, not directly in the mechanical closet unless the manufacturer allows it.
- Short-term rentals: Provide coverage that tenants can easily see and hear from sleeping rooms.
Height, spacing, and airflow tips
- Height: Follow the manufacturer’s instructions—most alarms allow ceiling or wall mounting. If wall-mounted, keep the top of the unit 4–12 inches below the ceiling.
- Clear airflow: Keep at least 12–18 inches away from corners or dead-air pockets and 3 feet from supply registers, fans, or bathrooms that create steam.
- Distance from appliances: Maintain 10–15 feet from cooking appliances and fuel appliances to reduce false alarms while remaining effective.
Choosing the right alarm
Sensor types and features
- UL-listed CO alarms: Look for UL 2034 certification (or your regional equivalent). This ensures performance at life-safety thresholds.
- Digital display: A real-time ppm readout and peak memory helps diagnose small leaks before they become emergencies.
- End-of-life chirp: Most units last 7–10 years. An end-of-life signal is different from the low-battery chirp—replace the device, not just the battery.
- Interconnect: Hardwired or wireless interconnect lets all alarms sound together for audibility in larger homes.
- Combo smoke/CO: If using combined units, confirm placement meets smoke alarm rules (typically on the ceiling or high on the wall, away from kitchens and bathrooms).
Power options
- Hardwired with battery backup: Reliable and suitable for interconnect. Requires a junction box and typically a 3-wire cable for interconnected circuits.
- 10-year sealed battery: Easy retrofit with no wiring; less maintenance. Replace the whole unit at end-of-life.
- Plug-in with battery backup: Convenient for apartments; mount high if allowed and route the cord neatly per instructions.
Safety first: If you are unsure about electrical wiring, hire a licensed electrician. For plug-in or battery units, you can DIY. For hardwired interconnects, local code compliance and correct conductor identification are critical.
Step-by-step installation
Tools & materials
- CO alarm(s): UL-listed, with mounting plate
- Pencil, tape measure, level, stud finder
- Drill/driver, appropriate bits, and anchors
- For hardwired: voltage tester, wire stripper, wirenuts, electrical box with cover
- Ladder and safety glasses
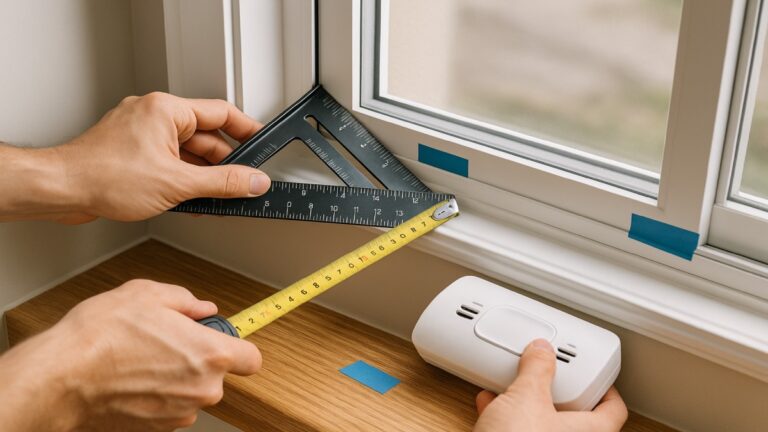
1) Plan the locations
Mark a spot on each level and near sleeping rooms following the spacing rules above. Confirm the surface allows a secure mount. Avoid drafting air from windows, bathrooms, or HVAC vents that could dilute CO before the sensor detects it.
2) Mount a battery or plug-in unit
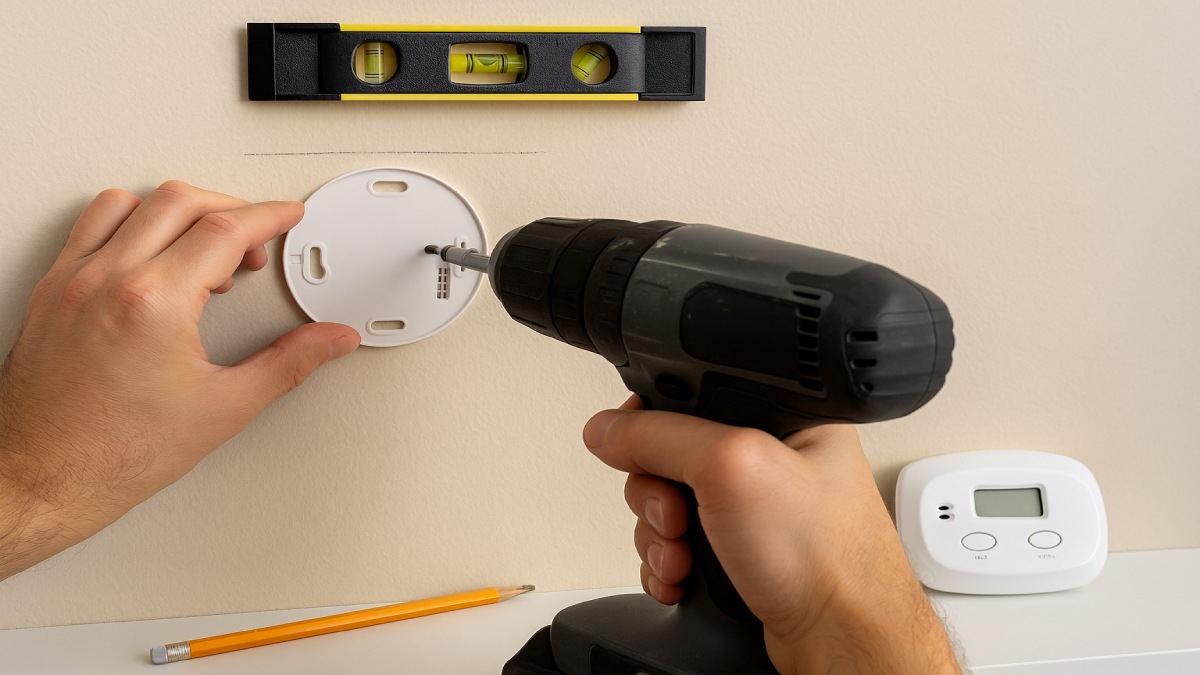
- Use the mounting plate as a template to mark pilot holes.
- Drill holes and insert wall anchors if you’re not hitting a stud.
- Fasten the plate, attach the alarm, and pull the tab (for sealed batteries) or insert batteries oriented as shown.
- Press
TESTuntil the alarm sounds to confirm operation.
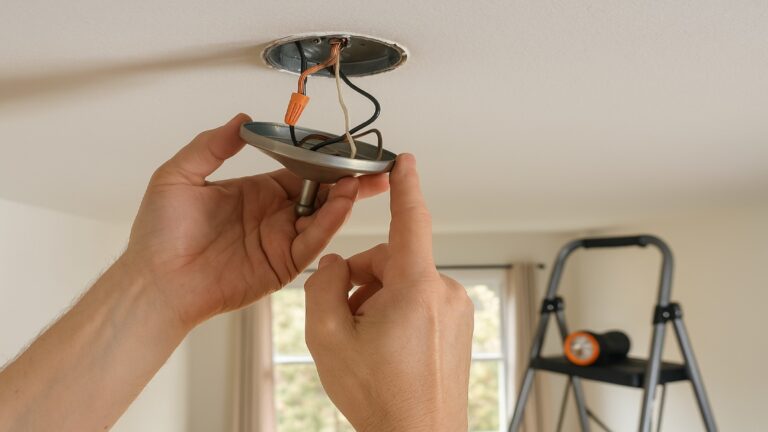
3) Install a hardwired, interconnected unit (advanced)
- Turn off power at the breaker and verify with a non-contact tester.
- At the electrical box, identify hot (typically black), neutral (white), and interconnect (often red). Confirm with labeling and tester.
- Connect the pigtail harness from the alarm to the branch circuit using wirenuts: hot-to-hot, neutral-to-neutral, and interconnect-to-interconnect; attach ground (bare/green) to the box or device ground as required.
- Secure the mounting plate to the box, attach the alarm head, restore power, and press
TEST. All interconnected alarms should sound together.
Testing, calibration, and routine checks
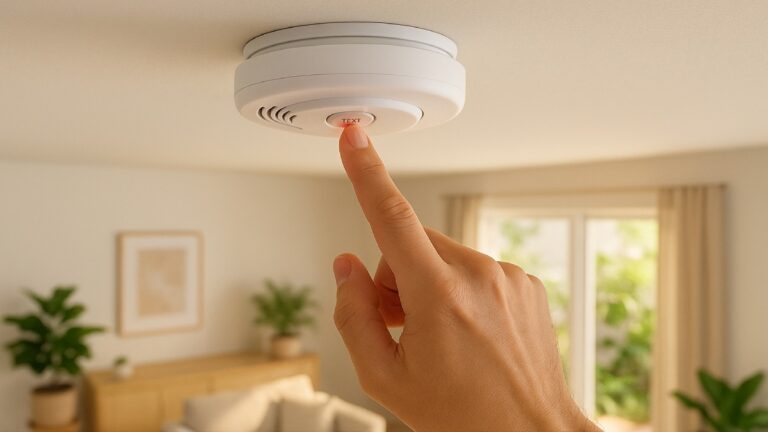
Monthly routine
- Press and hold
TESTon each alarm until it sounds. Verify any interconnected units also sound. - Dust the vents lightly with a vacuum brush. Debris can slow sensor response.
- Check the display (if present) for error codes or peak values.
Annual deep check
- Inspect mounting for looseness and verify the location still fits the home layout.
- Review the device’s manufacture date and end-of-life timing.
- If you use a professional service for furnaces or fireplaces, ask them to measure CO and verify venting.

Troubleshooting chirps and false alarms
Common signals
- Low battery chirp: Short single beep at regular intervals. Replace batteries or the sealed unit if at end-of-life.
- End-of-life chirp: Different pattern (check manual). Replace the device; do not silence permanently.
- Alarm condition: Continuous or repeating tones with a display reading (if present). Ventilate, shut off potential sources, and move to fresh air.
Reducing nuisance trips
- Relocate units at least 10–15 feet from stoves, fireplaces, and garages.
- Keep away from humid bathrooms or direct airflow.
- Service fuel-burning appliances annually to prevent incomplete combustion.
Placement examples by home type
Small apartments
One unit near the bedroom and another near the living/kitchen area often provides full coverage. Plug-in units with battery backup are convenient and easy to relocate during furniture changes.
Two-story homes with a basement
Install one alarm in the basement level, one on the main living level near the sleeping room hall, and one upstairs near bedrooms. Add a unit near the garage entry if you have an attached garage.
Homes with wood-burning fireplaces
Place an alarm in the same room as the fireplace, 10–15 feet away, and another near the sleeping rooms. Keep it out of direct smoke pathways to minimize nuisance trips while retaining protection.
Maintenance calendar you can actually follow
- Monthly: Press
TESTon each device and dust the vents. - Every 6 months: Review appliance filters and vents; ensure garage doors and seals close properly.
- Annually: Professional inspection of furnaces, boilers, fireplaces, and water heaters.
- At end-of-life (7–10 years): Replace the alarm—write the install date on the side when you mount it.
What to do if your alarm sounds
- Move everyone to fresh air immediately and call emergency services if anyone shows symptoms (headache, dizziness, nausea).
- Shut off potential sources: furnace, fireplace, gas stove, vehicle in garage.
- Ventilate by opening windows and doors.
- Do not re-enter until the space is cleared and the source is identified and fixed by a qualified professional.
Frequently asked questions
Do I need a CO alarm if I only have electric appliances?
If your home is fully electric with no attached garage, the risk is much lower, but it’s still wise to have at least one CO alarm due to possible neighboring sources or temporary equipment like generators.
Can I mount a CO alarm on a shelf?
Follow the manual. Most are designed for wall or ceiling mounting. If a model permits tabletop placement, keep it unobstructed and away from vents or direct sunlight.
How loud should the alarm be?
CO alarms are designed to be heard throughout the home under typical conditions, but closed doors or background noise can reduce audibility. Interconnected systems improve coverage.
Is a digital readout worth it?
Yes. Seeing ppm values and peak memory helps you spot minor issues early and communicate clearly with service professionals.
Key takeaways
- Install CO alarms on every level and near sleeping rooms; keep 10–15 feet from fuel-burning appliances.
- Choose UL-listed devices with features that fit your home: sealed battery, interconnect, digital display.
- Test monthly, dust the vents, and replace at end-of-life (7–10 years).
- If an alarm sounds, ventilate, exit, and have a qualified pro find and fix the source.
With correct placement, reliable equipment, and a simple monthly test routine, you’ll add a strong layer of protection that works quietly in the background—until the moment you need it most.