Create a Garden Seating Area With Recycled Pallets – DIY
Ready to turn a quiet corner of your yard into a cozy hangout without spending a fortune? Recycled pallets make sturdy, flexible building blocks for outdoor seating. With safe sourcing, careful prep, and a weather-ready finish, you can craft a lounge that looks custom and lasts through the seasons.
This step-by-step guide walks through pallet safety, design planning, sanding and sealing, solid joinery, and comfort upgrades. You’ll learn how to read ISPM-15 marks, set a comfortable seat height, use exterior-grade fasteners, and pick quick-dry cushions that stand up to rain. By the end, you’ll have a polished seating area that fits your backyard and your budget.
Why Pallet Seating Works for Real Backyards
Pallets are strong, modular, and widely available. Many were cut from durable softwoods or hardwood mixes and designed to handle heavy loads in transit. For homeowners, that translates to sturdy frames that can be stacked, trimmed, and rearranged into benches, sectionals, or coffee tables. The cost savings are obvious, yet the bigger win is flexibility—you can adapt the footprint to your garden and shift pieces as your layout evolves.
Sustainability With Style
Reusing pallets keeps lumber in service and reduces landfill waste. With a little sanding, a fresh stain, and weather-resistant cushions, the end result looks thoughtful rather than temporary. Friends notice the warm wood grain and the custom fit. You’ll enjoy the comfort knowing you gave quality material a second life.
Step 1 — Source Safe Pallets and Read the Stamps
Start with safety. Not every pallet is suitable for seating. Focus on clean units with clear treatment marks and no sign of chemical spills or mold. A quick inspection up front prevents headaches later and protects anyone who relaxes on the furniture.
Decode ISPM-15 Treatment Marks
- IPPC logo + country code + treatment code: This stamp confirms the pallet met international wood-packaging rules.
- HT (Heat Treated) or DH (Dielectric Heating): These are preferred for DIY projects. They indicate heat processing, not fumigation.
- MB (Methyl Bromide): Skip these. Fumigated pallets are not ideal for seating or garden use.
Look for a Clean History
- Check for oil stains, odd odors, chemical drips, or heavy discoloration.
- Inspect deck boards and stringers for cracks, rot, or termite damage.
- Avoid branded pool pallets—blue CHEP and similar programs retain ownership.
Where to Ask
Try local garden centers, appliance stores, and small warehouses. Always ask permission. Many stores are happy to let clean, non-returnable pallets go to a good home. If you buy from a recycler, request HT or DH stock and pick your pieces in person.
Step 2 — Plan the Layout and Dimensions
Good planning sets up a comfortable seat height and a footprint that flows with your garden. The most common pallet in North America is 48″ × 40″ (often called GMA). Two stacked pallets create a base height near 11–13 inches. Add 4–6 inches of foam and you land right in the typical lounge seat range of 17–18 inches.
Map Your Space
- Measure the site and sketch a simple plan. Note door swings, gate paths, and the angle of afternoon sun.
- Allow 36–42 inches for walkways so the area feels open, not cramped.
- Keep a five-foot path from main doors so traffic flows around your seating group.
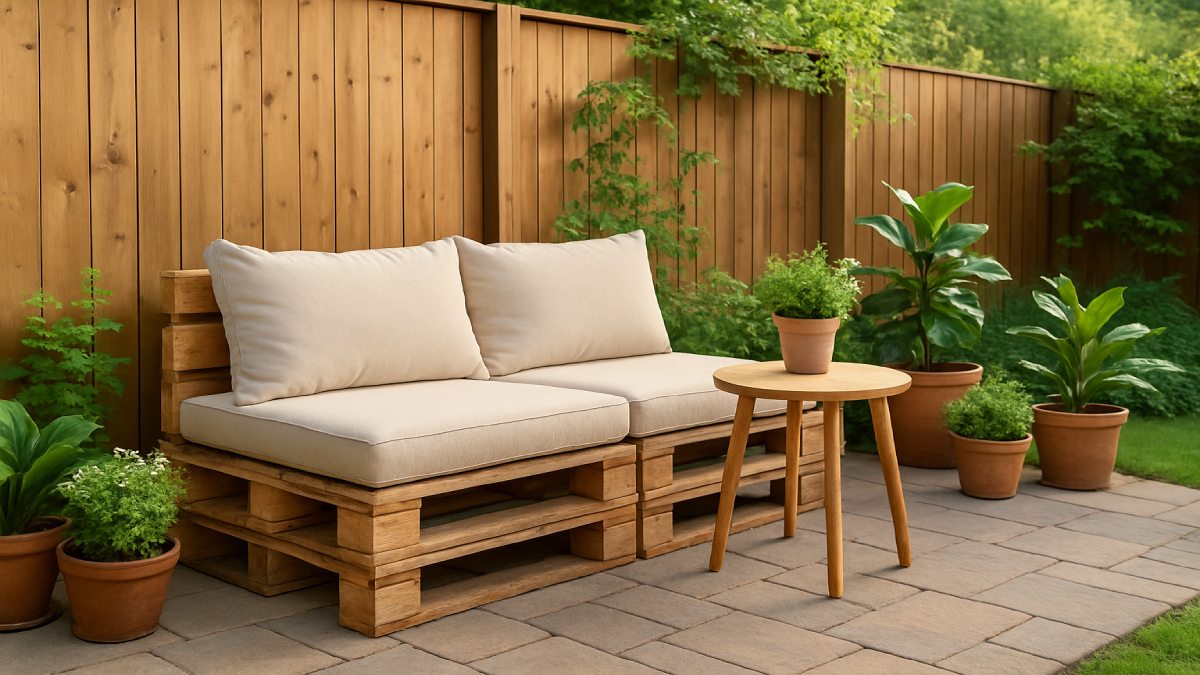
Pick a Shape That Fits
- Straight bench: Fastest build and perfect for narrow patios.
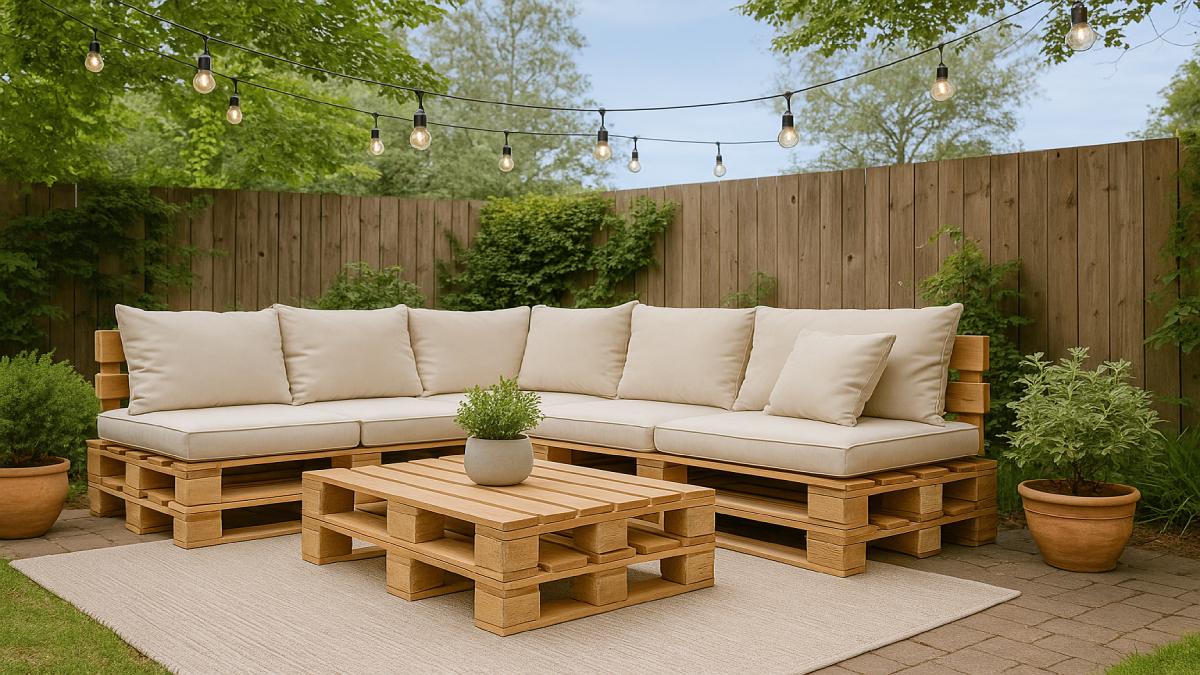
- Corner sectional: Uses L-shaped clusters for conversation. Anchor the corner and float the open end.
- U-shaped lounge: Wraps a fire pit or low table and seats a crowd.
Tool and Hardware Checklist
- Orbital sander, sanding discs (60/80/120/150 grit)
- Drill/driver, countersink bit, and impact-rated bits
- Exterior deck screws (stainless, hot-dipped galvanized, or ceramic-coated)
- L-brackets, corner braces, and construction adhesive rated for exterior use
- Brushes, stain pads, rags, drop cloths, and painter’s tape
- PPE: gloves, eye protection, dust mask or respirator, hearing protection
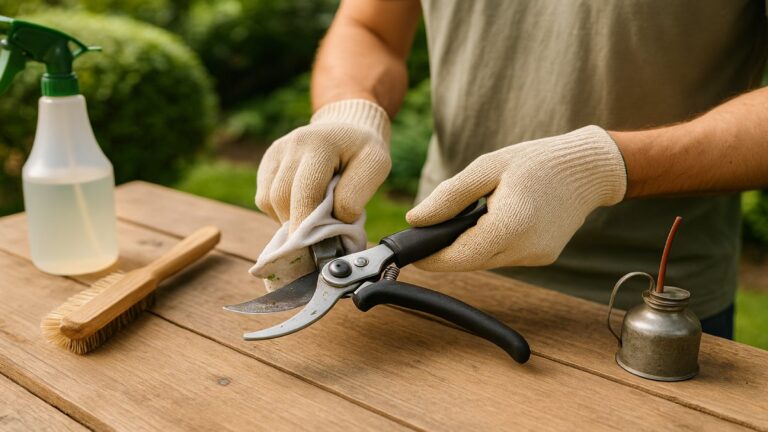
Step 3 — Prep the Pallets: Clean, Repair, and Sand
Preparation makes the difference between “rough” and “refined.” Your goal is smooth edges, even surfaces, and a base that accepts finish evenly. Start by removing stray nails and staples. Tighten loose deck boards or replace them with matching planks cut from a spare pallet.
Cleaning for a Fresh Start
- Vacuum dust and debris. A shop vac saves time.
- Wash with a mild detergent or a wood-safe cleaner. Rinse and let dry fully.
- Spot-treat mildew with an oxygen-based cleaner. Rinse until water runs clear.
Sanding for Comfort and Safety
- Begin with 60–80 grit to knock down splinters and high spots.
- Move to 120 grit for general smoothing. Stop around 150 grit so finish can still penetrate.
- Break sharp corners along armrests and edges so skin and fabric don’t snag.
Repair Notes
- Bridge cracks with a sister strip under the deck board and secure with exterior screws.
- Fill small divots with an exterior wood filler only if you plan to paint or use a solid-color stain.
- Keep ventilation gaps between boards so rainwater drains quickly.

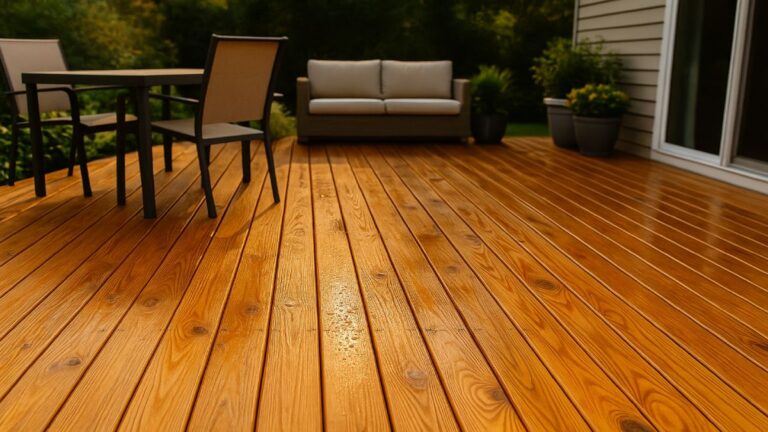
Step 4 — Seal the Wood for Outdoor Life
Pallet furniture lives outside, so the finish needs to repel water and block UV. A semi-transparent deck stain or an exterior sealer keeps the look natural while protecting fibers. If you prefer bolder color, go with a solid color stain rated for decks or fences.
Pick the Right Product
- Water-based stains: Fast dry, soap-and-water cleanup, and often lower VOCs.
- Oil-based stains: Deep penetration and rich tone. Allow more time to dry.
- Spar urethane/exterior poly: Adds a clear top layer. Works best over stained wood you want to keep glossy.
Application Tips
- Work in shade or on an overcast day for an even coat.
- Stir the can often so pigment stays consistent from start to finish.
- Apply thin coats with a stain pad or brush. Wipe excess before it skins.
- Let pieces dry completely on painter’s pyramids or scrap blocks to avoid sticking.
Weather Window
- Ideal temps sit around 50–90°F with moderate humidity.
- Keep rain off the project for 24–48 hours after the last coat.
Step 5 — Build the Base and Frame
Assembly is straightforward when parts are square and cuts are clean. Dry-fit first to confirm your layout. Once the shape feels right, lock it together with exterior screws and braces, then check for racking and wobble before moving on.
Stack, Align, and Secure
- Set the first pallet on level pavers or deck blocks. Shim low spots with composite shims.
- Place a second pallet on top for seat height. Check for flush edges and equal overhang.
- Pre-drill and drive exterior screws through solid stringers at the corners and mid-span.
- Link adjacent modules with L-brackets underneath to create a continuous base.
Backrests and Arms
- Cut a pallet in half to create an angled back. Fasten through stringers into the base.
- Add vertical posts at the ends for arm supports. Cap with a smooth top rail for comfort.
- Install a diagonal brace from the backrest to the base frame for strength.
Pro-Level Stability
- Use construction adhesive along contact seams plus screws for a rattle-free feel.
- Add hidden blocking under thin deck boards where screws need more bite.
- Set non-marking rubber feet or low risers under the base to encourage drainage.
Step 6 — Add Comfort: Cushions, Fabric, and Ergonomics
Comfort turns a clever build into a favorite spot. Quality foam and outdoor fabric keep seats springy and fresh through heat and showers. Focus on breathable materials, snug fit, and easy care.
Foam That Drains Fast
- Reticulated (quick-dry) foam: Open-cell structure sheds water and dries rapidly.
- Cut foam to match your modules, leaving a small margin for fabric seams.
- For budget builds, layer dense base foam under a softer topper to balance support and comfort.
Fabric That Lasts
- Pick UV-resistant outdoor fabric with mildew resistance and strong colorfastness.
- Sew zippered covers so you can wash or replace them at season’s end.
- Run seams along edges that won’t see direct wear. Double-stitch corners and handles.
Ergonomic Tweaks
- Target a finished seat height near 17–18 inches for lounge comfort.
- Angle the backrest a few degrees and add a slim lumbar pillow for support.
- Keep the coffee table 1–2 inches lower than the seat for a natural reach.
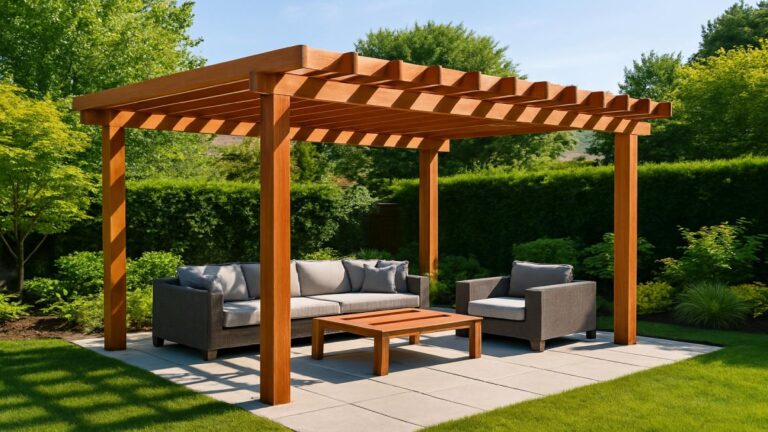
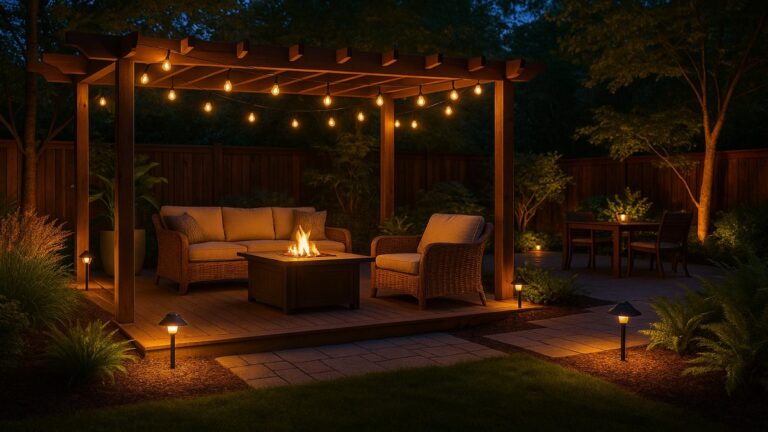
Step 7 — Style the Space: Light, Greenery, and Flow
Finishing touches make the area feel like a true outdoor room. Layer light and texture, then guide foot traffic with simple paths so everything feels intentional. Small choices add up to a polished space you’ll use every week.
Lighting That Sets the Mood
- String lights along a fence or pergola beam for warmth.
- Use low path lights near steps and edges for safety.
- Clip a dimmable lantern to the back rail for late-night reading.
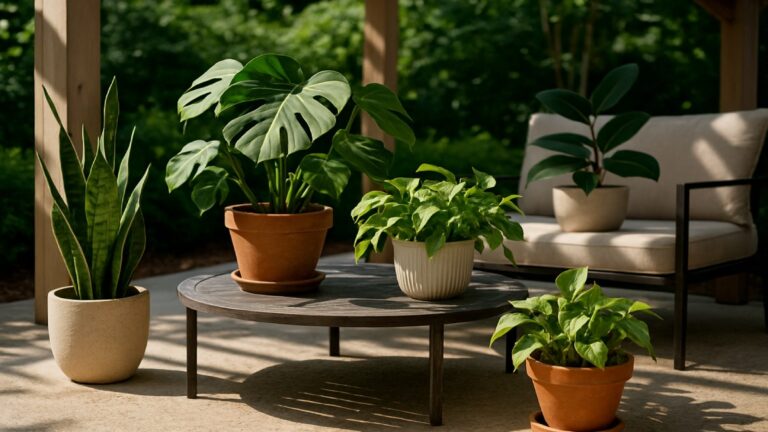
Plants That Thrive Near Seating
- Mix tall planters behind the bench for privacy and scale.
- Place herbs near the table—basil and mint smell great in the evening.
- Keep prickly plants and strong allergens away from armrests and traffic lanes.
Traffic and Zone Clarity
- Keep a clear lane from the house door to the seating group.
- Define the zone with a durable outdoor rug that dries fast.
- Set a side table at each end so drinks and books never sit on the ground.
Weather-Smart Care for Multi-Season Durability
Maintenance is simple if you set a routine. A few minutes after storms and a quick refresh each spring will keep your seating tight, clean, and comfortable. You’ll double or triple the useful life of the build with very little effort.
Weekly and Monthly Habits
- Sweep leaves and pollen so moisture can’t linger between boards.
- Stand cushions on edge to air out after rain.
- Check fasteners once a month and snug anything that loosened with temperature swings.
Annual Refresh
- Wash frames with a mild cleaner and soft brush. Rinse well and let them dry fully.
- Lightly sand high-wear zones and brush on a fresh coat of exterior stain or sealer.
- Re-treat visible end grain and screw holes—they absorb more water than flat surfaces.
Winter Strategy
- Cover modules with breathable furniture covers or store them under a roof.
- Bring cushions inside to a dry spot. Wash covers before storage so stains don’t set.
- Lift bases on pavers to keep wood off saturated soil or snow.
Design Variations for Different Backyard Styles
Pallets adapt to many looks. A few color and hardware choices swing the vibe from rustic to modern without touching the core frame. Pick the palette that suits your home and garden, then layer textures to finish the look.
Rustic Farmhouse
- Leave the wood natural with a warm semi-transparent stain.
- Use chunky knit throws, galvanized planters, and lanterns with warm LEDs.
- Stack a short log slice as a side table for a natural accent.
Modern Minimalist
- Coat frames in charcoal or deep navy exterior paint.
- Choose cushions in stone, flax, or solid black for a crisp contrast.
- Swap string lights for slim, dimmable sconces under a pergola beam.
Boho Lounge
- Mix patterned pillows with earthy tones and a jute-style rug.
- Hang planters at varied heights to frame the corner.
- Scatter floor cushions to expand seating during parties.
Family-Friendly Patio
- Round over edges and use extra-wide arm caps for snacks and board games.
- Anchor modules to prevent tipping when kids climb.
- Pick washable, bleach-safe outdoor fabrics for easy cleanup.
Common Questions About Pallet Seating
Are pallets safe for outdoor seating?
Yes—if you start with the right stock. Use pallets stamped HT or DH, avoid MB, and skip units with chemical stains or strong odors. Prep and seal the wood to block moisture and UV.
How long will pallet furniture last?
With a good sealer and light yearly maintenance, many builds see three to five summers or more. Covered patios and quick-dry cushions extend the timeline.
Should I paint or stain?
Stain highlights grain and hides wear better over time. Paint delivers bold color and a clean, modern look. A solid-color stain sits between both, offering strong UV protection with easy touch-ups.
What screws work best?
Use stainless, hot-dipped galvanized, or ceramic-coated deck screws. Interior screws rust quickly outside and can stain wood around the heads.
How do I keep cushions from getting soggy?
Pick reticulated foam and outdoor fabric, stand cushions on edge after rain, and store them under cover when storms roll in. A small storage bench keeps the routine painless.
Final Checks Before You Sit Down
Give each joint a last inspection. Shake the frame, listen for squeaks, and tighten fasteners where needed. Run your hand along edges to confirm there are no snags. Place rubber feet or thin risers beneath low spots to keep water moving away from the base. Last, mist the area and watch how water sheds off the finish—beading means you nailed the seal.
Conclusion: Build Once, Enjoy for Seasons
A recycled-pallet seating area proves that design, comfort, and durability can live together on a modest budget. Safe sourcing, careful prep, and a protective finish do the heavy lifting. Solid joinery, breathable cushions, and a simple care routine keep the setup going strong. Pull up a seat, pour something cold, and enjoy a corner of your backyard that finally feels like you.