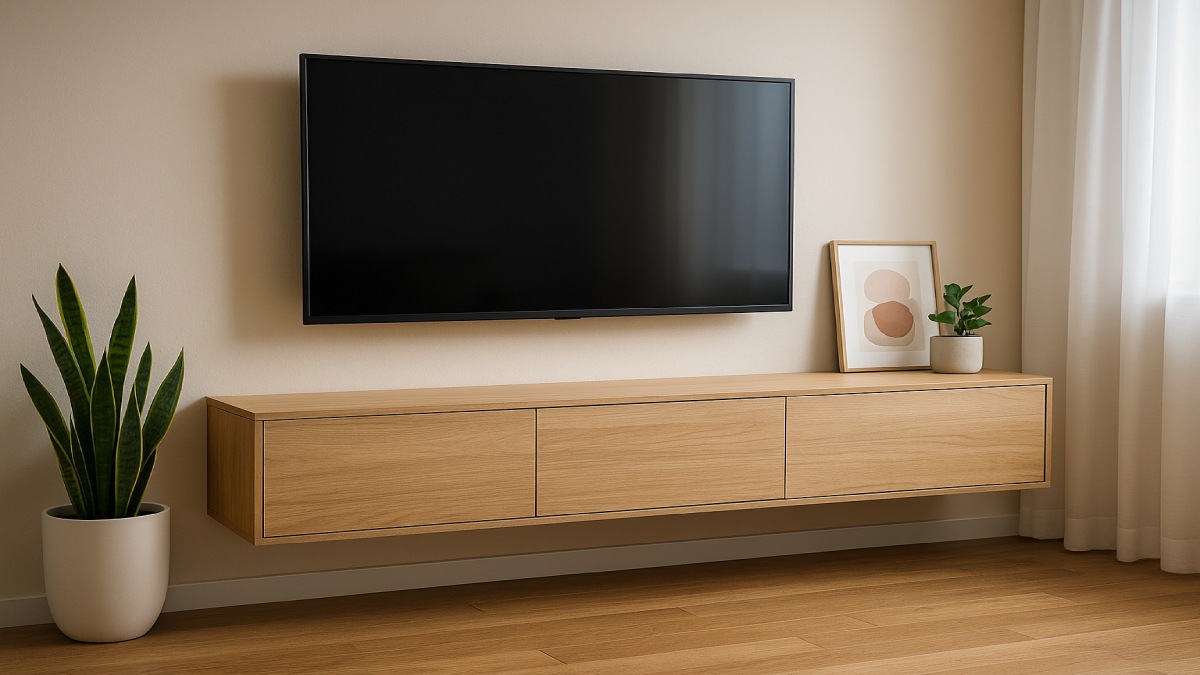
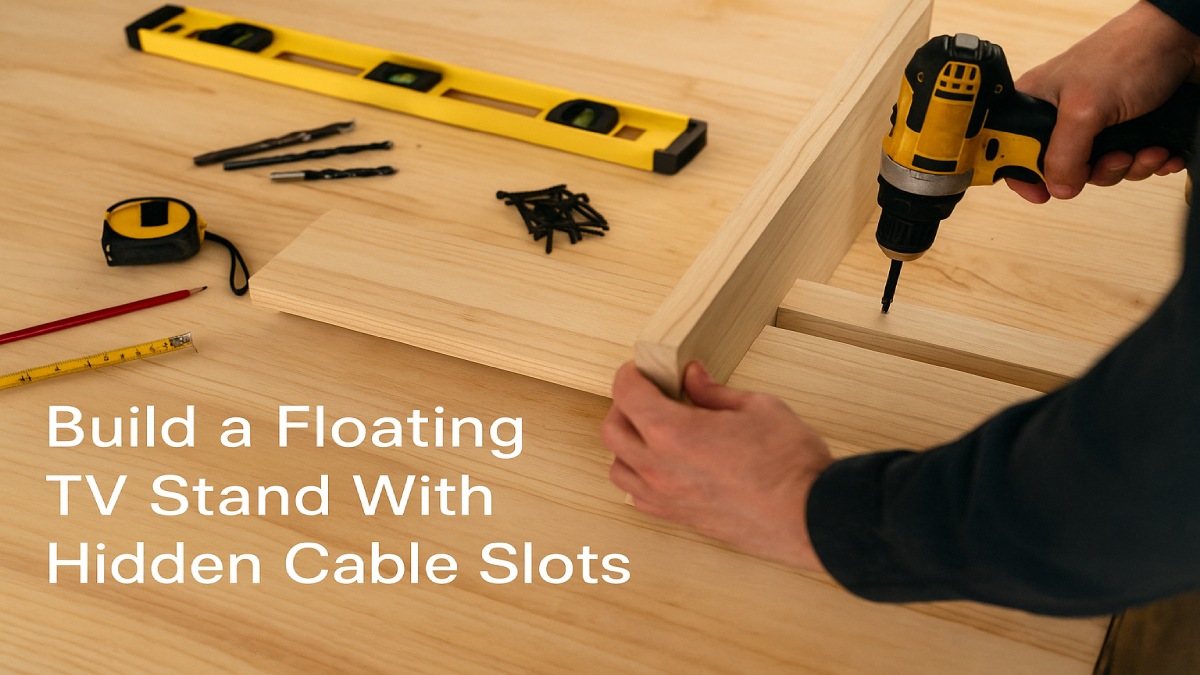
Build a Floating TV Stand with Hidden Cable Slots (DIY)
Nothing cleans up a living room like a floating TV stand. The wall-hung look feels modern, saves floor space, and keeps dust bunnies away. The best part is the cables: you can route them through hidden slots so your setup looks clean from every angle. This long-form guide covers planning, tools, materials, step-by-step construction, French cleat mounting, finishing, and cable management. If you’ve built a basic cabinet or shelf before, you’re ready for this project.
Project Overview
- Skill level: Confident beginner to intermediate
- Total time: One weekend (cut/assemble day one; finish/mount day two)
- Primary techniques: Pocket-hole joinery, French cleat mounting, back-panel cable routing
- Estimated cost: $120–$250 depending on wood species, finish, and hardware
Why a Floating TV Stand Is Worth It
A floating media console opens up the floor, which makes small rooms feel bigger. It also simplifies cleaning. Most store-bought units stop at basic cable cutouts; your custom build can add hidden channels, brush grommets, and a rear chase so cables disappear. On top of that, the console doubles as a soundbar perch and storage for game consoles, routers, and streaming hubs.
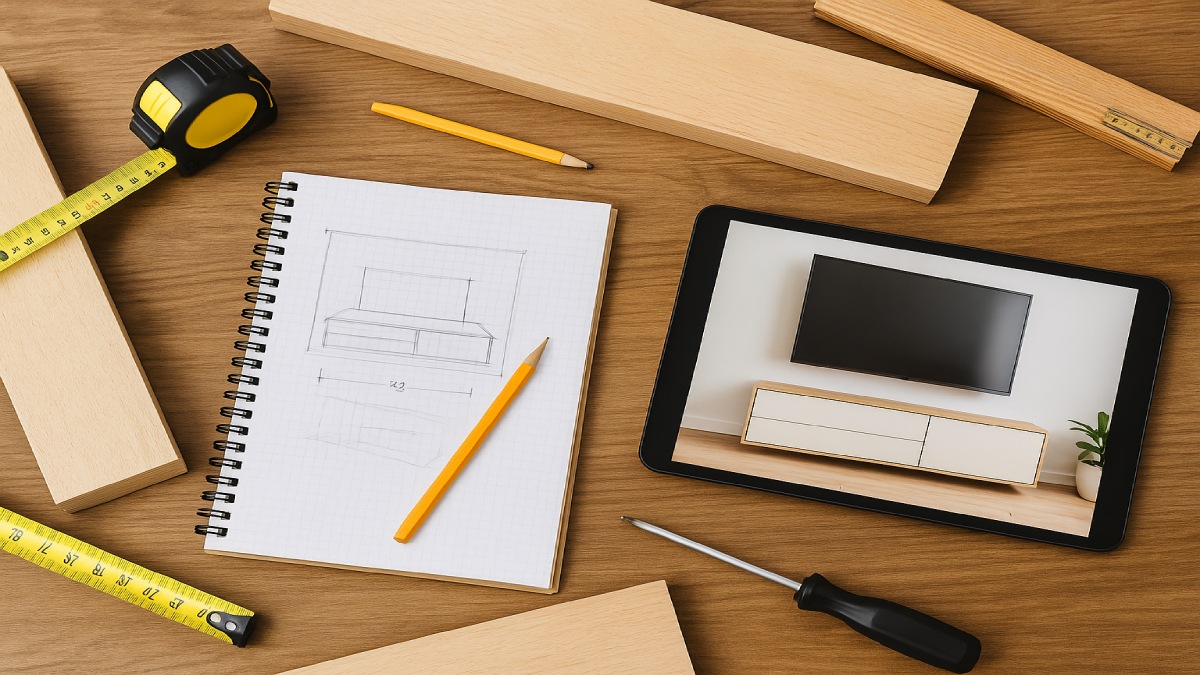
Plan the Design: Size, Storage, and Style
Great results start with a simple sketch. Decide what lives inside the console and where cables need to travel. The outside should look clean; the inside should be functional. Use these guidelines to size the cabinet and plan the layout.
Dimensions that work
- Width: Aim for 60–72 inches for 55–65″ TVs; go 72–84 inches for 70–77″ sets.
- Height: 10–14 inches keeps a slim line while leaving room for components.
- Depth: 12–16 inches fits media boxes, power strips, and cable slack.
Storage layout
- Divide the interior into two or three bays: left for a console, center for a soundbar, right for a router or game gear.
- Add an adjustable shelf in at least one bay for flexible storage.
- Leave a rear clearance of 1–1.5 inches for hidden cable runs and ventilation.
Style picks for a modern look
- Scandinavian oak: Clear matte finish, square edges, hidden pulls.
- Walnut veneer: Oil-rubbed warmth with slim shadow lines.
- Matte white: Minimalist paint with soft-close doors or sleek push latches.
- LED bias lighting: A dimmable strip behind the console casts a gentle halo and reduces eye strain.
Tools and Materials
| Category | Items | Notes |
|---|---|---|
| Wood | 3/4″ plywood or furniture-grade MDF; 1/4″ back panel (ply) | Plywood is stronger; MDF paints smoother; veneer adds premium look |
| Hardware | French cleat (wood or metal), pocket screws, 1 1/4″ wood screws, shelf pins | Metal cleats are compact; wood cleats are budget-friendly |
| Joinery | Pocket-hole jig, 1 1/4″ pocket screws, wood glue, clamps | Fast, strong, and beginner-friendly |
| Cable gear | Brush grommets, cable grommets, zip ties, Velcro straps, cable clips | Brush plates hide openings; grommets protect wire jackets |
| Finishing | Primer, paint or oil/poly, 220–320 grit sandpaper, tack cloth | High-quality primer makes paint finishes crisp |
| Tools | Circular saw or table saw, drill/driver, jigsaw, sander, level, stud finder, countersink bit, hole saws | Hole saws for grommets; jigsaw for long cable slots |
Safety First
- Wear eye and hearing protection when cutting or routing.
- Use a dust mask while sanding MDF or plywood.
- Confirm stud locations before drilling; avoid electrical runs and plumbing.
- Use in-wall rated cables if you run low-voltage wiring through drywall.
Step 1: Cut Panels and Dry-Fit the Frame
Break down your sheet goods into manageable panels. A track saw or circular saw with a straightedge guide makes this fast and accurate. Cut the top, bottom, sides, dividers, and at least one shelf. Save offcuts for the French cleat later.
- Mark and label: Label each panel as you cut it. Keep edges square.
- Pre-sand: Sand cut faces lightly with 180–220 grit to remove saw marks before assembly.
- Dry-fit: Assemble without screws to confirm all parts align. Adjust if needed.
Clean edges and square corners are the backbone of a seamless floating look. A careful dry-fit prevents headaches when the glue comes out.
Step 2: Pocket Holes and Box Assembly
Pocket-hole joinery gives strong, hidden connections. Drill pocket holes along the top and bottom inside faces so they’ll disappear after assembly.
- Drill pocket holes on the inside edges of the top and bottom, spaced 6–8 inches apart.
- Apply glue, clamp, and drive pocket screws to join the sides to the bottom panel.
- Add the top panel and clamp until the box is square. Check diagonal measurements.
- Install the interior divider(s). Keep bays wide enough for your devices and ventilation.
Wipe glue squeeze-out quickly. A damp cloth prevents finish issues later.
Step 3: Create Hidden Cable Slots
This is the signature feature. You’ll build a clean face while the rear hides all wiring. There are three popular approaches—pick one or mix them.
Option A: Long rear slots
- Mark a horizontal slot 1–1.5 inches tall, centered along the back of each bay.
- Drill starter holes at both ends with a 3/8″ bit.
- Connect the holes with a jigsaw cut. Sand the edges smooth.
These slots let HDMI, power, and speaker cables pass freely to a wall opening or a rear chase.
Option B: Round grommet holes
- Use a hole saw matched to your grommet size (often 2″).
- Drill holes near the top of the back panel so cables exit at shelf height.
- Press in rubber or brush grommets for a tidy finish.
Option C: Hidden vertical chase
- Create a shallow cavity by spacing the back panel off the cabinet by 1/2–3/4″ using thin strips.
- Cut short pass-throughs from each bay into the chase.
- Route all wires vertically inside the cavity to a single wall opening.
This method hides almost everything while keeping the back panel close to the wall.
Step 4: Add the Back Panel and Shelf
Cut a 1/4″ plywood back to fit. If you’re building the hidden chase, install the spacer strips first, then attach the back panel. Include pre-drilled holes or slots where your cables enter and exit. Add an adjustable shelf using shelf pins or a fixed center shelf with pocket screws from below.
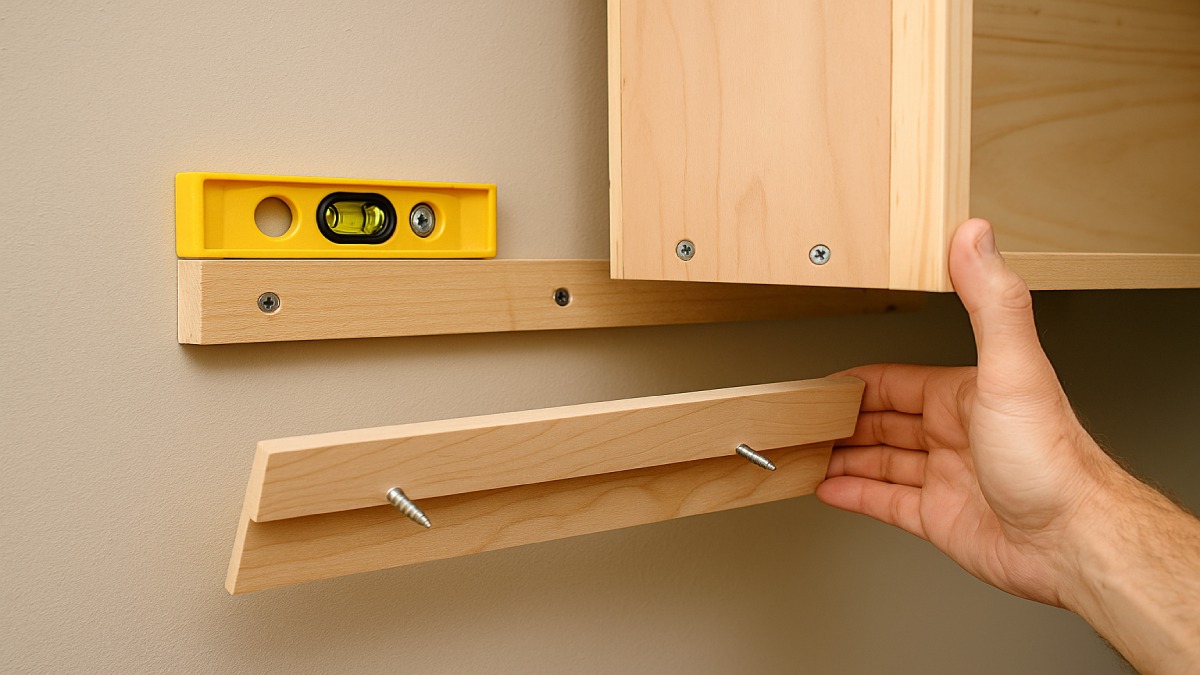
Step 5: Build and Mount the French Cleat
A French cleat gives great strength and makes the cabinet removable for service. You can make it from plywood offcuts or buy an aluminum cleat kit.
- Cut the cleat: Rip a strip at 45°. One half mounts on the wall (bevel up), the other on the cabinet (bevel down).
- Find studs: Mark stud locations with a stud finder and tape.
- Mount wall cleat: Level the cleat and drive 3″ wood screws into at least three studs.
- Mount cabinet cleat: Center the mate inside the cabinet back with through-screws and washers.
- Hang the cabinet: Lift and set the cabinet on the wall cleat. Test for racking and level.
Add two concealed “safety” screws through the cabinet bottom into studs to lock it in place.
Step 6: Sanding, Edge Banding, and Finish
Give your cabinet the polished look it deserves. If you used plywood, apply edge banding on exposed edges for a furniture-grade face. Sand to 220–320 grit, remove dust, and apply your finish of choice.
- Paint: Prime, sand, then two thin coats of high-quality enamel or cabinet paint.
- Clear finish: Wipe-on poly or a hard-wax oil for a natural look on oak or walnut.
- Hardware: Push latches or low-profile edge pulls keep the front clean.
Step 7: Cable Management for a Clean Façade
Now the magic happens. A cable-free look starts with a plan that aligns cabinet slots to wall openings, then keeps everything tidy inside the bays.
- Locate the wall pass-through: Behind the TV or just below it. Use low-voltage wall plates or brush plates.
- Align cabinet slots: Bring cables through the back into the nearest bay without crossing the center divider unless needed.
- Bundle and secure: Use Velcro straps and adhesive cable clips. Label HDMI and power for easy swaps.
- Power inside the cabinet: Add a slim power strip with surge protection. Keep adapters off the floor.
- Airflow matters: Leave space around game consoles and routers to avoid heat buildup.
Optional Upgrades
- LED bias lighting: Install a dimmable strip behind the console or TV for a soft halo that reduces eye strain.
- Soft-close doors: Conceal clutter with minimal hardware and smooth action.
- Hidden drawer: Add a shallow drawer for remotes and game controllers.
- Charging hub: Route a USB-C/USB-A hub to the front bay for quick access.
- Soundbar shelf: Leave a centered cutout or a front lip to nest a soundbar neatly.
Common Mistakes and Easy Fixes
- Hanging on drywall anchors alone: Always attach the wall cleat to studs.
- Slots too small: Make openings large enough for HDMI heads and future cables.
- No plan for power: Add a power strip inside the cabinet and align it with your wall outlet.
- Heat buildup: Cut extra vent slots or leave a rear gap for airflow around devices.
- Paint drips on edges: Use light coats and tip off with a foam roller for a smooth finish.
Cost and Time Breakdown
| Item | Budget | Notes |
|---|---|---|
| Plywood / MDF | $45–$120 | One to two sheets depending on width and shelves |
| French cleat hardware | $15–$40 | Wood cleat: minimal; metal cleat: compact and strong |
| Grommets / brush plates | $10–$25 | Clean cable pass-throughs |
| Fasteners, glue, edge banding | $10–$25 | Includes pocket screws and clamps (if needed) |
| Finish (paint/poly/oil) | $20–$40 | Primer + finish coats or clear oil/wax |
| Optional LED strip | $15–$30 | Bias lighting for mood and comfort |
| Total (typical) | $120–$250 | Varies by wood species and finish level |
Layout Examples You Can Copy
Compact living room (55″ TV)
- Console width 60–66″; depth 12–14″; two bays with one adjustable shelf.
- Single long rear slot per bay; wall pass-through centered behind TV.
- Matte paint finish with push latches for a clean face.
Standard living room (65–70″ TV)
- Console width 72–80″; depth 14–16″; three bays for flexible storage.
- Hidden vertical chase behind the back panel; brush plates inside each bay.
- Wood veneer with clear finish; soft-close doors on the outer bays.
Open-concept space (75–77″ TV)
- Console width 80–84″; linear design with a soundbar shelf in the center.
- Metal French cleat across three studs; two safety screws from below.
- LED bias strip behind cabinet; black or brass pulls for contrast.
Step-by-Step Mounting Recap
- Mark TV centerline and console elevation on the wall with painter’s tape.
- Locate studs and mark them clearly; check for obstructions.
- Level and install the wall cleat with 3″ screws into studs.
- Pre-drill the cabinet cleat and bolt it through the back; add washers.
- Hang the cabinet, confirm level, then add two hidden safety screws into studs.
Once the cabinet is secure, set the devices, route cables through slots or grommets, and tidy up with Velcro straps.
Maintenance Tips
- Dust the cabinet and TV monthly; wipe with a microfiber cloth.
- Check cable bundles every few months; remove slack and replace worn ties.
- Re-tighten mounting screws after 6–12 months, especially in busy homes.
- Refresh the finish with a gentle cleaner; avoid harsh solvents on paint or oil.
FAQ: Quick Answers for a Smooth Build
How much weight can a French cleat hold? A properly installed cleat across multiple studs can support well over 100 pounds. Your cabinet, devices, and a few books will be fine if you mount it correctly.
Do I need in-wall rated cable? If you run low-voltage wires through drywall cavities, use CL2/CL3-rated cable and follow local code.
Can I build with MDF? Yes. MDF paints beautifully, though it’s heavier than plywood. Seal edges before painting for best results.
What about soundbar placement? Leave a centered shelf or a slim recess under the TV. Keep cable pass-throughs directly behind it.
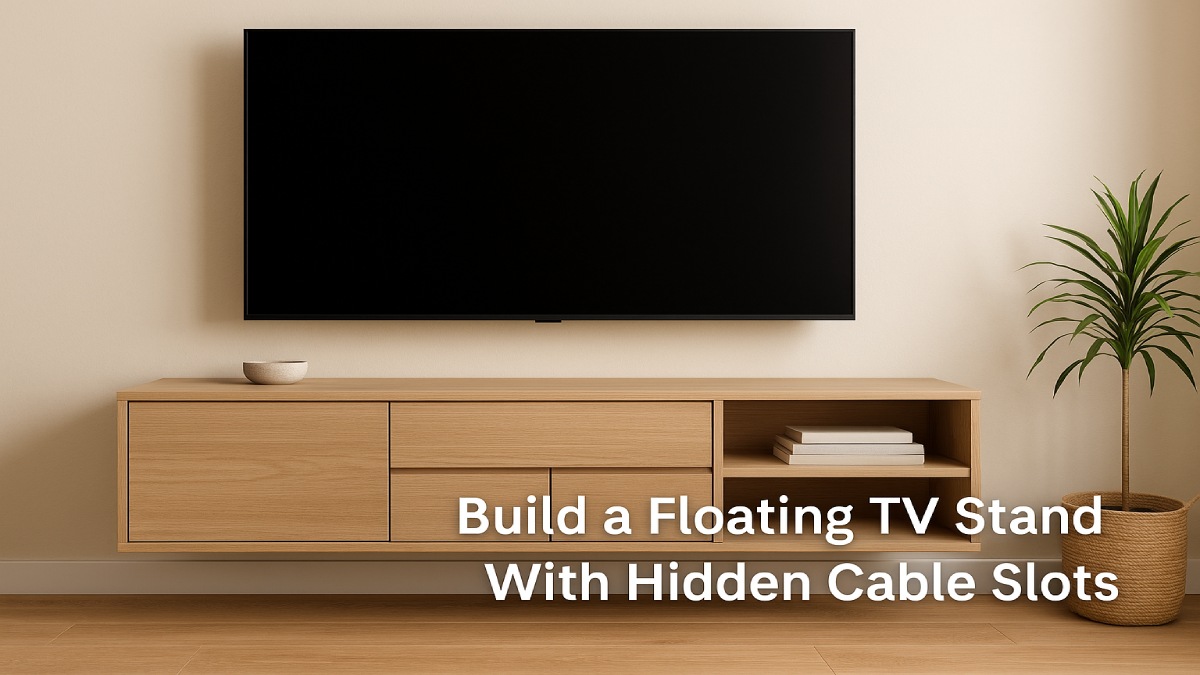
Wrap-Up: Modern Form, Practical Function
This project gives you more than a place for a TV. It delivers a modern line, strong storage, and cable-free simplicity that looks great from any seat in the room. With a thoughtful plan, solid joinery, and a smart mounting method, you’ll end the weekend with a clean wall, a sleek cabinet, and a room that feels instantly upgraded. Once it’s up, add your favorite décor, dial the LED glow, and enjoy the view.
HomeFettle — Crafting Homes with Heart and Hands.