How to Install a Bathroom Vanity Top With Faucet
Upgrading your bathroom vanity top can instantly refresh the entire space without the expense of a full remodel. Installing a new vanity top with a faucet is a project many homeowners can complete in a single afternoon. The process involves a few essential tools, careful measurements, and some attention to sealing and plumbing details. When done properly, it delivers a clean, modern finish and boosts your bathroom’s overall value.
This detailed guide explains every step—from preparation to installation—so you can confidently replace an old vanity top, add a new faucet, and achieve a professional-quality result. You’ll also learn about the best materials, cost considerations, design trends, and the most common mistakes to avoid.
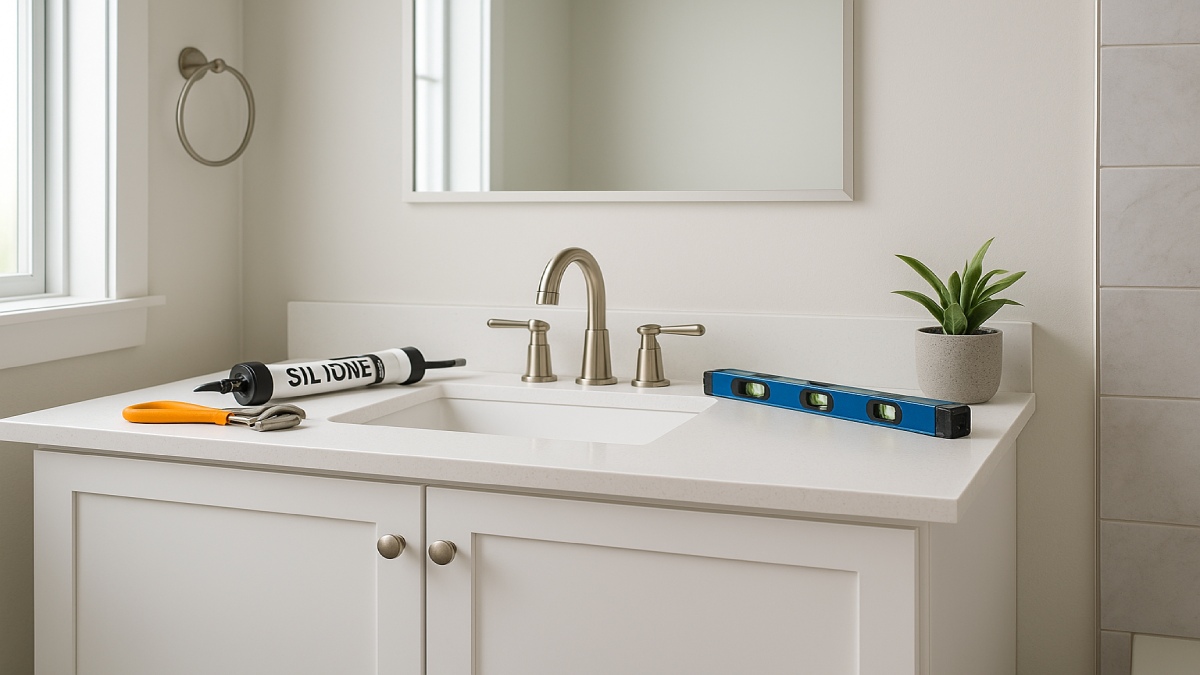
Tools, Materials, and Preparations
Preparation makes the difference between a smooth installation and a frustrating one. Start by clearing the vanity area and protecting the floor with an old towel or drop cloth. Keep a bucket or shallow pan nearby to catch any water left in the supply lines.
Essential Tools
- Adjustable wrench or basin wrench
- Plumber’s putty and silicone caulk
- Caulking gun and utility knife
- Level, tape measure, and pencil
- Bucket, rags, and sponge
- Plumber’s tape (Teflon tape)
Materials to Gather
- New vanity top with integrated or separate sink
- Bathroom faucet and matching drain assembly
- Water supply lines and P-trap (if old ones are worn)
- Mounting clips and screws provided with the vanity top
Before you begin, turn off the water supply valves under the sink and open the faucet to release pressure. If your new vanity top includes pre-drilled faucet holes, confirm they align with your faucet style (centerset, widespread, or single-hole). It’s also wise to assemble the faucet and drain on the countertop before mounting it onto the cabinet. This makes tightening nuts and applying sealant much easier.
Step-by-Step Guide to Installing a Vanity Top
Installing a bathroom vanity top follows a straightforward sequence. Each step ensures proper alignment, watertight seals, and reliable plumbing connections.
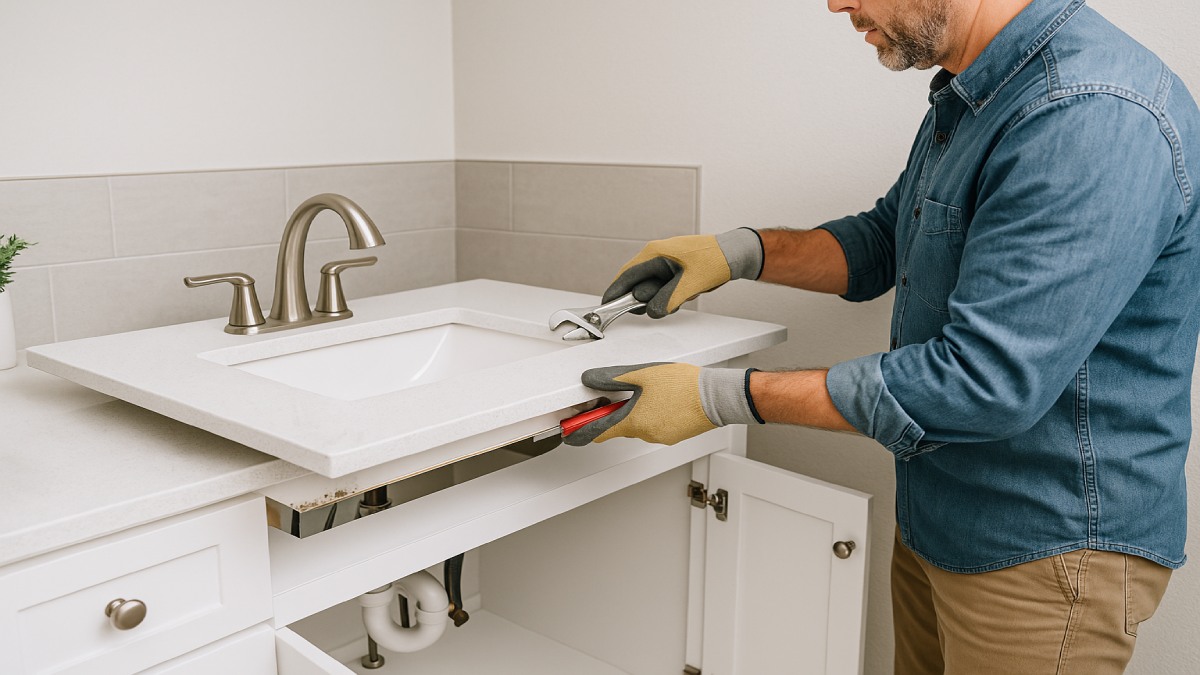
Step 1 – Remove the Old Vanity Top
Begin by disconnecting both water supply lines from the faucet. Use a wrench to loosen nuts carefully and drain any remaining water into your bucket. Detach the P-trap and remove it from the drain pipe. Cut through the old caulk bead where the countertop meets the wall using a utility knife. Once loosened, lift the old top off the cabinet. If it’s glued down, gently pry along the edges with a flat bar to avoid damaging the base cabinet. Inspect the vanity base for rot or swelling before proceeding.
Step 2 – Assemble Faucet and Drain
Attach the faucet and drain assembly to the new vanity top while it’s on a flat surface. Apply plumber’s putty beneath the faucet base or drain flange where instructed by the manufacturer. For undermount sinks, apply silicone instead of putty to create a watertight seal. Insert the faucet through the pre-drilled holes and tighten the mounting nuts securely but not excessively—over-tightening may crack the sink surface. Attach the drain assembly, ensuring the rubber gasket is seated correctly. Wipe away excess sealant immediately.
Step 3 – Set and Secure the Vanity Top
Dry-fit the new vanity top on the cabinet to check alignment with the walls and plumbing. Adjust the position so that edges are even and level. Once satisfied, lift it off and run a thin bead of silicone along the top edges of the cabinet. Carefully lower the vanity top back into place. Use a level to verify that it sits evenly in all directions. Press down gently to secure the adhesive bond, then clean any extra silicone that squeezes out.
Step 4 – Reconnect Plumbing and Test for Leaks
Attach the faucet’s water supply lines to the shut-off valves under the sink. Wrap the male threads with plumber’s tape before tightening the nuts. Reconnect the P-trap to the drain tailpiece, ensuring the slip nuts are hand-tight plus a quarter turn. Slowly turn the water back on and check for drips around each connection. Run the faucet for a minute and inspect the drain area and under-sink plumbing. Tighten connections if you spot moisture or seepage.
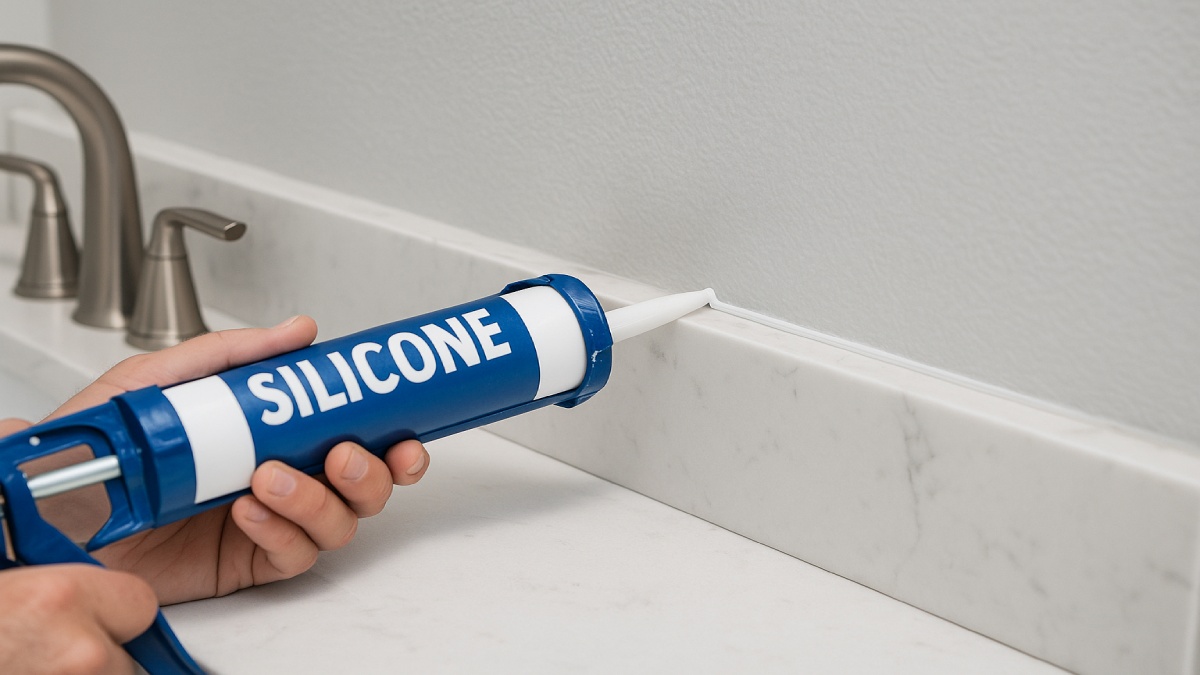
Step 5 – Final Finishing Touches
Apply a small bead of silicone along the backsplash and the countertop edges that meet the wall. Smooth it with a wet finger or caulking tool for a clean finish. Allow the silicone to cure as recommended—usually 24 hours. Wipe the vanity top with a soft, non-abrasive cleaner and polish the faucet to remove fingerprints. Your installation is now complete and ready for daily use.
Vanity Top Materials – What’s Best for You?
Vanity tops come in a variety of materials, each with unique benefits, maintenance needs, and price points. Choosing the right one depends on your budget, desired style, and how much daily wear the bathroom experiences.
Quartz
Quartz remains the leading choice for bathroom surfaces in 2025. It’s engineered from natural stone and resins, making it non-porous, stain-resistant, and low maintenance. Quartz requires no sealing and comes in a wide range of colors and patterns that mimic marble or granite.
Cultured Marble
This composite material combines crushed stone with resins. It’s affordable and smooth, often molded with an integrated sink. While easy to clean, cultured marble can scratch or dull over time, so avoid abrasive cleaners.
Granite and Natural Stone
Natural stone adds luxury and unique veining, but it demands periodic sealing to resist moisture and stains. Granite, marble, and quartzite are popular options for upscale bathrooms. Be sure to install with sturdy cabinetry due to weight.
Laminate and Solid Surface
Laminate tops provide a budget-friendly upgrade with many color choices. Solid surface materials like Corian blend style and durability at a mid-range cost, offering a smooth, seamless look that’s easy to repair if scratched.
For most homeowners, quartz provides the ideal balance between elegance, cost, and longevity. Laminate and cultured marble remain strong contenders for quick remodels or secondary bathrooms.
Common Mistakes to Avoid During Installation
Even simple DIY projects can go wrong without planning. Avoiding these errors will help you achieve professional-looking results.
- Skipping the water shutoff: Always close the valves and relieve pressure before loosening fittings.
- Over-tightening connections: Hand-tight plus a small turn is usually enough. Over-tightening can crack fittings.
- Ignoring leveling: An uneven top leads to poor drainage and visible gaps along the backsplash.
- Wrong sealant choice: Use plumber’s putty for drain fittings, silicone for cabinet joints and backsplashes.
- Not checking for leaks early: Test plumbing immediately to fix problems before caulk cures.
- Skipping manufacturer instructions: Each faucet model may have unique washer or gasket requirements.
Cost Breakdown – DIY vs Professional Installation
The total cost of replacing a bathroom vanity top depends on materials, labor, and plumbing complexity. Doing it yourself can save hundreds, but hiring a professional may be worthwhile for stone surfaces or complex plumbing layouts.
DIY Cost Estimate
A basic DIY replacement using a prefabricated top and faucet typically costs between $300 and $700. This includes materials, sealants, and hardware. If you already own tools, your only added expense is time—usually four to six hours of work.
Professional Installation Cost
Hiring a licensed plumber or contractor generally ranges from $500 to $2,200. The price varies with countertop type, sink configuration, and whether plumbing lines must be moved. Custom stone tops often require fabrication and onsite fitting, increasing both labor and delivery costs.
When to Hire a Pro
Consider professional help if you’re installing an undermount sink, working with heavy stone materials, or unsure about drain alignment. Pros ensure proper sealing, leveling, and compliance with plumbing codes. For standard prefab tops, confident DIYers can achieve the same quality with patience and the right tools.
Design and Trend Insights for 2025 Bathrooms
Modern bathroom design blends function and simplicity. Homeowners now favor natural finishes, sustainable materials, and clean lines. Quartz continues to dominate the vanity market thanks to its sleek appearance and durability.
Matte black and brushed gold faucets have replaced polished chrome as preferred finishes. Integrated sinks with continuous surfaces reduce seams and cleaning effort. Many homeowners are pairing light neutral tops with soft green or navy cabinetry for a balanced contrast. Vessel sinks remain stylish but require tall or wall-mounted faucets to maintain comfort height. For energy-conscious users, touchless and water-saving faucets are rising in popularity.
These design trends show a clear movement toward low-maintenance luxury—materials and fixtures that look good and last for years.
FAQs About Installing Bathroom Vanity Tops
Can I replace a vanity top without replacing the cabinet?
Yes. As long as your existing cabinet is structurally sound and level, you can replace just the top. Measure carefully to ensure the new top fits the cabinet base and plumbing openings.
How do I seal a vanity top to the wall properly?
Apply a continuous bead of silicone caulk along the backsplash edge where it meets the wall. Smooth it with a damp finger for a clean finish. Allow full curing before exposing it to water.
Should I use plumber’s putty or silicone under the faucet?
Use plumber’s putty for most metal drain assemblies and faucet bases unless the manufacturer specifies silicone. For porous surfaces like granite or quartz, silicone offers a better waterproof bond.
What is the standard height for a bathroom vanity?
Most vanity tops are installed at around 34 to 36 inches high. If accessibility is a concern, follow ADA guidelines, which recommend a maximum front height of 34 inches for knee clearance.
Can I install an undermount sink myself?
It’s possible, but undermount installations require precise alignment and strong adhesive support. If you’re working with stone or heavy materials, professional installation is safer.
How long should silicone caulk cure before using the sink?
Most bathroom-grade silicones need at least 24 hours to cure fully. Avoid running water or placing weight on the top until that time has passed.
What’s the best vanity top material for moisture resistance?
Quartz tops are the most moisture-resistant, followed by solid surface and cultured marble. Natural stone requires sealing to maintain protection from humidity.
Conclusion – A Simple DIY Upgrade With Big Results
Replacing a bathroom vanity top with a new faucet is one of the most rewarding upgrades for homeowners. It blends practicality, style, and noticeable impact on daily comfort. With a clear plan, the right tools, and patience, you can complete this project in just a few hours. The key is to measure accurately, apply sealant correctly, and double-check every connection before turning on the water.
This straightforward project enhances your bathroom’s appearance, improves functionality, and increases your property’s value—all without needing major renovations. Once you see how transformative this change can be, you may be inspired to tackle the next DIY upgrade, such as a new mirror, lighting fixture, or backsplash to complete your refreshed bathroom look.