Add Under-Cabinet Lighting for Kitchen and Office Glow
Dark counters and shadowy desks make simple tasks harder than they should be. Under-cabinet lighting fixes that in one smart upgrade. A slim strip or bar mounted under the uppers sends light straight to the work surface. The result is clearer chopping, easier reading, and a cleaner, more modern look across the whole room.
This friendly guide breaks the project into clear steps you can follow at home. You will plan the layout, pick the right LED type, size brightness, and set a color temperature that flatters both food and finishes. You will also learn safe wiring basics, simple smart-control options, and a step-by-step installation flow that keeps the job tidy from start to finish.
Plan Your Under-Cabinet Lighting Layout
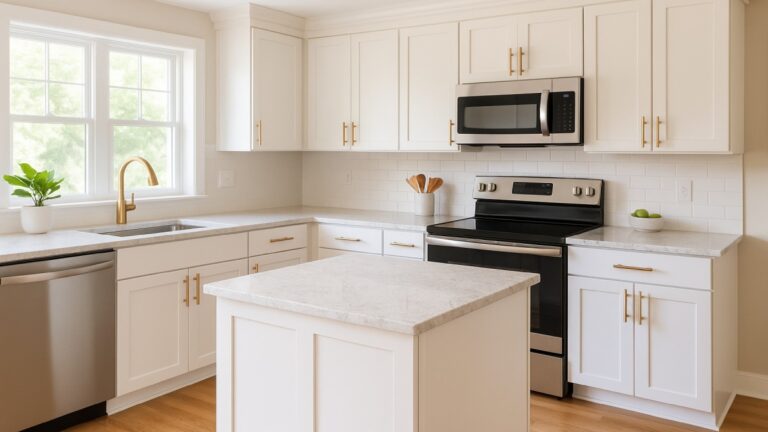
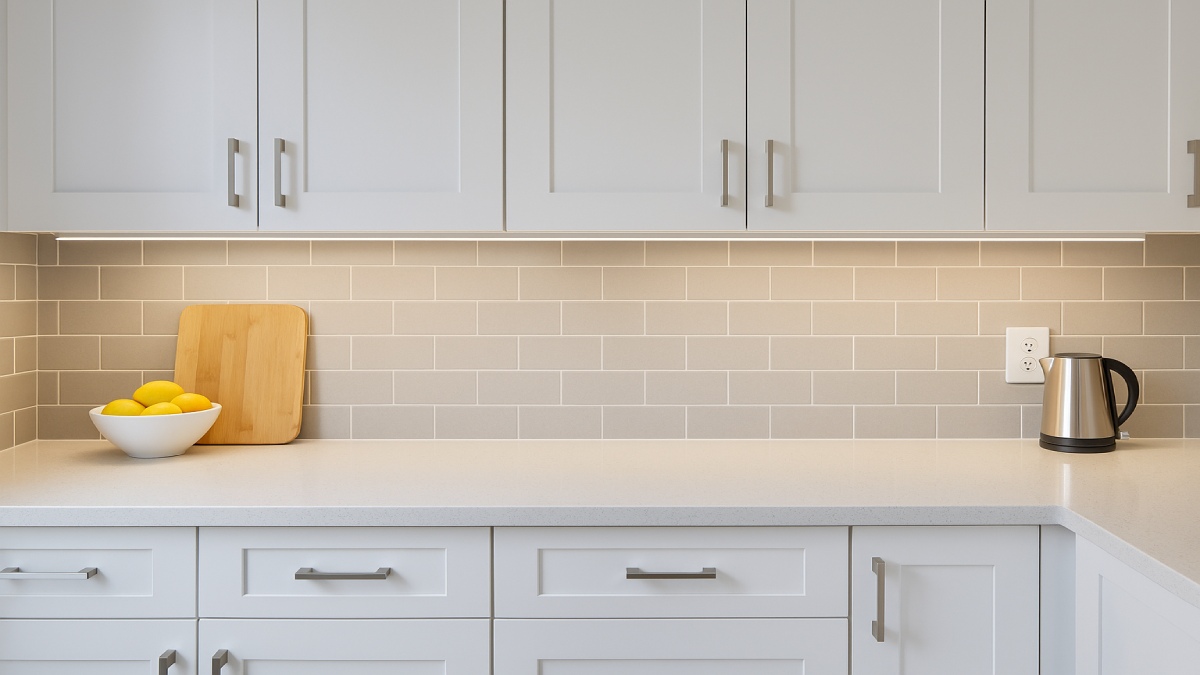
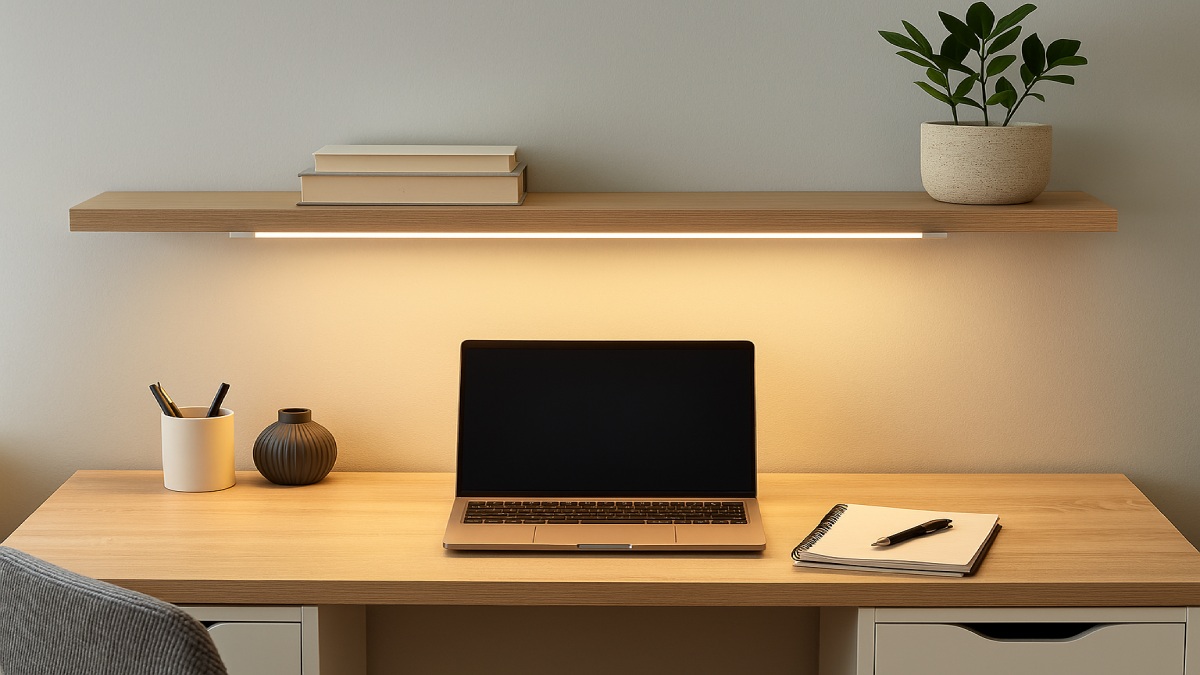
Good plans save time, money, and patchwork fixes. Walk the room and decide what each run of light needs to do. In a kitchen, the goal is bright, even light across the full counter. In a home office, the goal is smooth task light over the keyboard and notebook with no hotspots in the display.
Measure, Mark, and Visualize Coverage
Measure the length of each cabinet run. Note the depth of the uppers and the distance to the backsplash. Use painter’s tape to mark fixture placement. For strips, plan a continuous line placed toward the cabinet face or slightly toward the backsplash depending on the diffuser style. The closer the source sits to the wall, the more the backsplash glows. Pull it forward and you shift output onto the counter. Test both with a flashlight to see how reflections behave on your finish.
Determine Power Source and Control Location
Pick a control method first. A wall switch feels natural in kitchens that already have a spare switch box. A wireless remote or plug-in adapter is quick when you cannot open walls. For hardwired low-voltage systems, choose a Class 2 driver sized to the total load. Place the driver in a cabinet, pantry, or basement ceiling bay where it stays accessible and cool. Map a short cable path from the driver to each run so you can hide wires behind the valance or inside the cabinet backs.
Kitchen vs. Office Placement Notes
Kitchens benefit from full-length runs under each cabinet section to eliminate scallops and dark patches. Offices can use shorter bars under floating shelves or a single long run under a hutch. If you have glossy counters or a glossy desk mat, angle the light slightly toward the backsplash or wall to soften specular glare. When in doubt, lay a sample channel with painter’s tape and power it temporarily to confirm beam spread before you commit.
Pick the Right Type of Under-Cabinet Lighting
Three families cover nearly every situation: flexible tape lights, rigid light bars, and round puck lights. Each has a sweet spot. The best choice depends on the level of uniformity you want, how fast you need to install, and how visible the hardware will be from sitting or standing positions.
LED Tape Lights (COB vs. SMD)
LED tape offers the cleanest “invisible” look once it sits inside a low-profile aluminum channel with a frosted lens. Traditional SMD strips show tiny diode points unless the lens has enough depth to blur them. COB strips place chips so close together that the light reads as a solid line even in shallow lenses. That makes COB a strong pick for shallow cabinet lips and short valances. Pick tape with a high color-rendering index (90 or higher) so produce, meats, and printed materials look natural. Pair tape with an aluminum channel for heat shedding; that helps brightness and color stay stable over years.
Light Bars and Edge-Lit Fixtures
Bars simplify alignment and give a “finished” look with rigid housings, integrated lenses, and mounting clips. Many edge-lit bars route light through a plate so the face glows evenly, which reduces visible dots on glossy counters. Bars also excel when you want tidy wiring and repeatable spacing. If you plan to dim to low levels for night use, pick bars rated for smooth dimming with your driver choice. Look for a good glare cutoff and a lens that hides the source when viewed from common standing angles.
Puck Lights and Accent Fixtures
Pucks make sense for spot accents or inside glass-door cabinets. They are less ideal for task light because they create pools rather than a continuous band. If you love the look, widen spacing to reduce hotspots and mix a shallow strip along the face frame to fill gaps. Use pucks for shelf displays, art ledges, and coffee stations where a little sparkle serves the mood.
Plug-In vs. Hardwired Systems
Plug-in kits are fast, renter-friendly, and fine for office shelves or a small galley kitchen. You can start with a single run and expand later. Hardwired systems hide cords and pair with a wall dimmer for an integrated feel. For permanent work, choose UL-listed components, a Class 2 driver sized for load plus a small headroom buffer, and a compatible dimmer. When the job involves opening walls or adding new boxes, bring in a licensed electrician to keep things safe and compliant.
Choose Brightness, Color, and Quality
Two numbers guide the decision: delivered brightness and color quality. Delivered brightness means the light that reaches the counter or desk after diffusion and distance losses. Color quality means the light’s ability to render skin tones, food, paper, and finishes faithfully.
Brightness and Output (Lumens per Foot)
For kitchen task work, target a comfortable band around the 300–500 lux range on the counter surface. You can hit that with tape in the 200–700 lumens-per-foot range depending on cabinet height, channel depth, and surface color. Dark stone and deep woods absorb more light, so lean higher. Pale quartz and light laminates need less. Offices usually land on the softer side of that band to keep screens calm while still lighting the notebook area. If you want confirmation, a phone lux app gives a useful check during testing. Dim to taste after you meet the baseline so the room shifts from cook-mode to night-light with one slide.
Color Temperature and CRI
Warm white (2700–3000K) brings a cozy kitchen feel and flatters wood. Neutral white (3500–4000K) feels crisp in offices and brightens paper and keyboards. Stick with one tone per room or zone so the eye reads the space as intentional. Keep CRI at 90 or above for natural colors. That single choice improves the look of produce, raw meat, sauces, and document print without any other changes.
Flicker-Free and Dimmable Systems
Not all LEDs dim the same way. Low-end flutter or shimmer usually comes from driver-dimmer mismatch. Pick a driver with a published compatibility list, then set the low-end trim on the dimmer so the lights do not dip into unstable output. For very low night levels, consider fixtures designed for deep dimming. In office spaces, flicker control is more than comfort; it can influence eye strain. A clean driver combo pays off every day you work under it.
Wiring and Power Safety Basics
Most under-cabinet systems use low voltage with a driver that converts from 120V to 24V or 12V. That approach keeps wiring slim and routing flexible. It also introduces a few sizing and placement rules that make the system reliable long term.
Low-Voltage Setup and Driver Sizing
Start by adding the total wattage of all runs. Drivers should exceed that sum by a margin so they never run at the ceiling. A 20–30 percent buffer is a safe, quiet target. Long cable runs drop voltage and can cause a fade at the far end. If your layout spans a long wall, feed from both ends or place the driver near the middle run. Use parallel wiring harnesses when the manufacturer allows; that often improves balance across multiple legs.
Cable Routing and Hidden Drivers
Plan a clean wire path before you mount a single clip. Inside the cabinet, use adhesive cable clips along the back edge. Drop down through small access holes near the face frame. Keep low-voltage lines away from high-voltage conductors to reduce noise risk. Drivers run cooler and last longer when they can breathe. A pantry, basement joist space, or a high corner cabinet with a vented panel keeps the unit quiet and out of sight. Label the driver and leave a short note inside a cabinet about the location for future service.
GFCI and Code-Aware Details
Kitchen spaces introduce splash risks. Many local codes expect GFCI protection for receptacles that feed lighting drivers near sinks and wet counters. Under-cabinet outlets that sit on or above the surface have placement constraints; confirm local rules if you intend to add a new receptacle. When a project requires new wiring in the wall, hire a pro. For a quick refresh with no wall work, use a listed plug-in kit and route the cord neatly under the cabinet lip to a nearby protected outlet.
Smart Controls and Advanced Features
Controls define the experience. A simple switch works, but once you try smart dimming or motion, you will not want to go back. The trick is picking one ecosystem and sticking to it so everything responds together.
Smart Lighting Integration
Modern under-cabinet systems often work with major voice platforms and phone apps. Many new devices also speak a common language so they play nicely across brands. That simplifies setup and lets you tie the counter lights to a scene with pendants and toe-kick strips. Use schedules for sunrise coffee lighting and a late-evening night path. For a rental or office where you cannot change wiring, a smart plug dimmer with memory levels is a quick win.
Sensors and Motion Triggers
Hands full? A tiny motion sensor under the cabinet lip wakes the lights when you step to the counter. In an office, a low-profile sensor under a shelf snaps on a soft level when you sit down and shuts off after a period of inactivity. In pantries, door sensors tied to a small LED bar make grabbing items painless and keep the bulb count down.
Dimming and Color-Tuning Options
Tunable white strips shift from warm to cool. In a kitchen, warm tones flatter evening meals, while a neutral tone helps with prep in the afternoon. In a studio office, a cooler tone keeps paper bright during deep work. If you like colorful scenes, a subtle amber wash under open shelves adds mood for guests without changing task light on the main counter.
Installation Process: Step-by-Step Overview
Take your time. A clean install is mostly layout, a few tidy holes, and careful mounting. Pre-test each run on the bench before it goes under a cabinet. That single habit catches polarity errors and bad connectors before they hide behind trim.
Tools and Materials Checklist
Gather LED tape or bars, aluminum channels with frosted lenses, end caps, mounting clips or adhesive, a compatible driver, wire connectors, low-voltage cable, a dimmer or control, cable clips, painter’s tape, a drill with small bits, a countersink bit, a screwdriver, a level, and safety glasses. Keep a microfiber cloth to clean the lenses after handling.
Step 1 — Mark Layout and Drill Access Holes
Dry-fit the channels or bars with painter’s tape. Mark access points where cables will pass through the cabinet floor. Drill small holes just large enough for the low-voltage leads. Keep holes near the back to hide them behind the valance. If you use screw-mounted channels, pre-drill with a fine bit and stop before you break through the inside face frame.
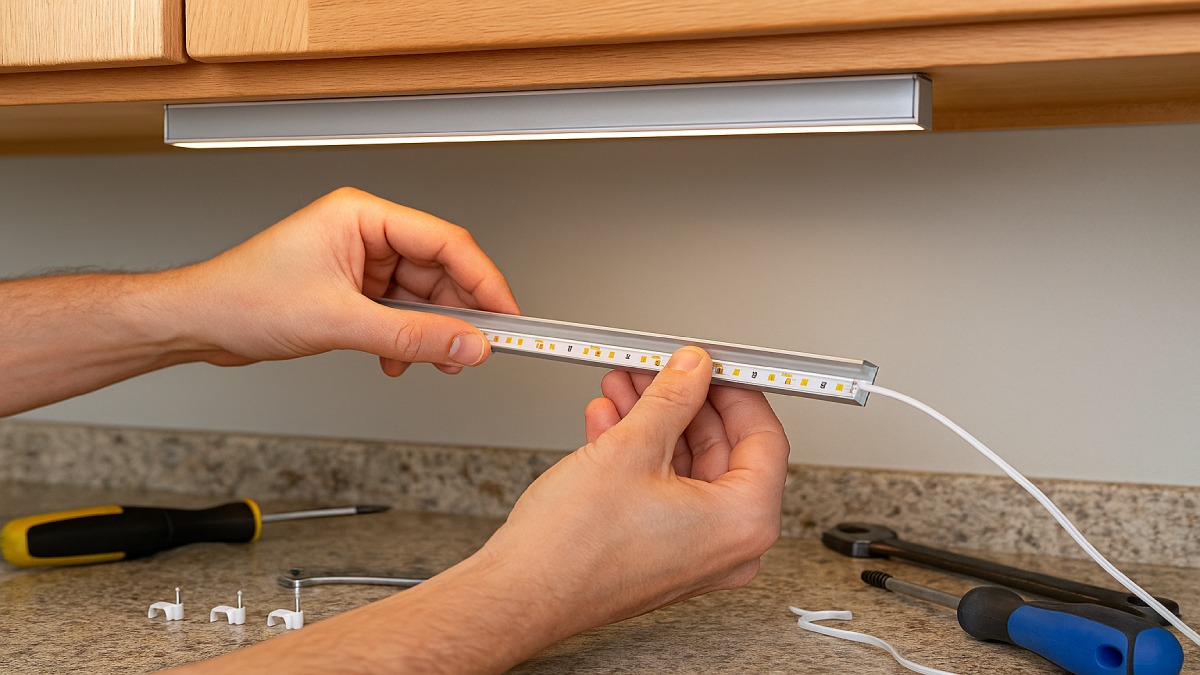
Step 2 — Mount Light Fixtures or Tape Channels
Clean the cabinet surface with isopropyl alcohol so adhesive grips well. For tape, press the strip into the channel evenly without stretching. Add end caps and lens segments, then clip the channel in place. For bars, use the manufacturer clips and snap the bar into position. Cable exits should point toward the access hole. Confirm the lens hides the light source at common standing angles; adjust forward or back as needed before you commit.
Step 3 — Connect Wires and Secure Drivers
Route leads through the access holes and into a cabinet cavity. Use polarity-correct connectors and follow the manufacturer’s diagrams. Keep wire runs neat and avoid tight bends. Mount the driver in its chosen location with screws or a Velcro panel rated for the weight. Connect the driver to the wall power or controlled outlet according to instructions. If you are tying into a wall switch or adding a new box, have a pro handle the line-voltage side.
Step 4 — Test, Dim, and Adjust
Power the system and confirm each run lights evenly. Dim to the lowest level and check for shimmer. If you see it, set a slightly higher low-end trim on the dimmer or choose a driver with deeper compatibility. Slide a white card along the counter to check for scallops or harsh reflections. Minor placement tweaks inside the channel fix most issues. Once you are happy, tidy the wires with clips and label the driver location for future service.
Design Ideas and Inspiration
Under-cabinet fixtures can do more than task work. Use them to shape the room’s atmosphere or define zones without adding visual clutter. Small design moves create large effects when light hits textured materials and reflective edges.
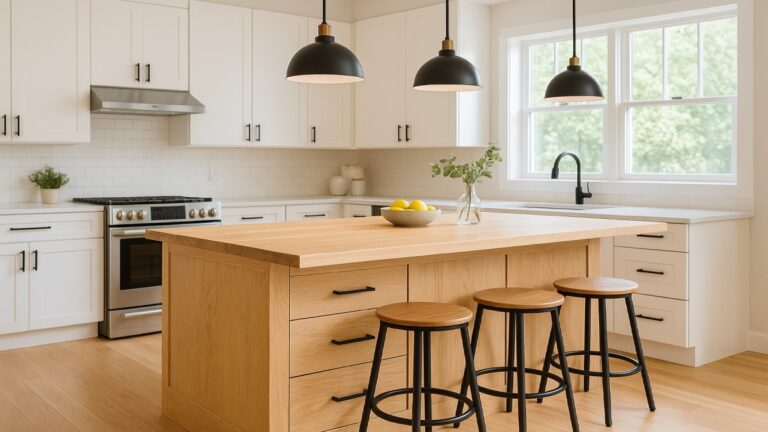
Modern Kitchen Glow
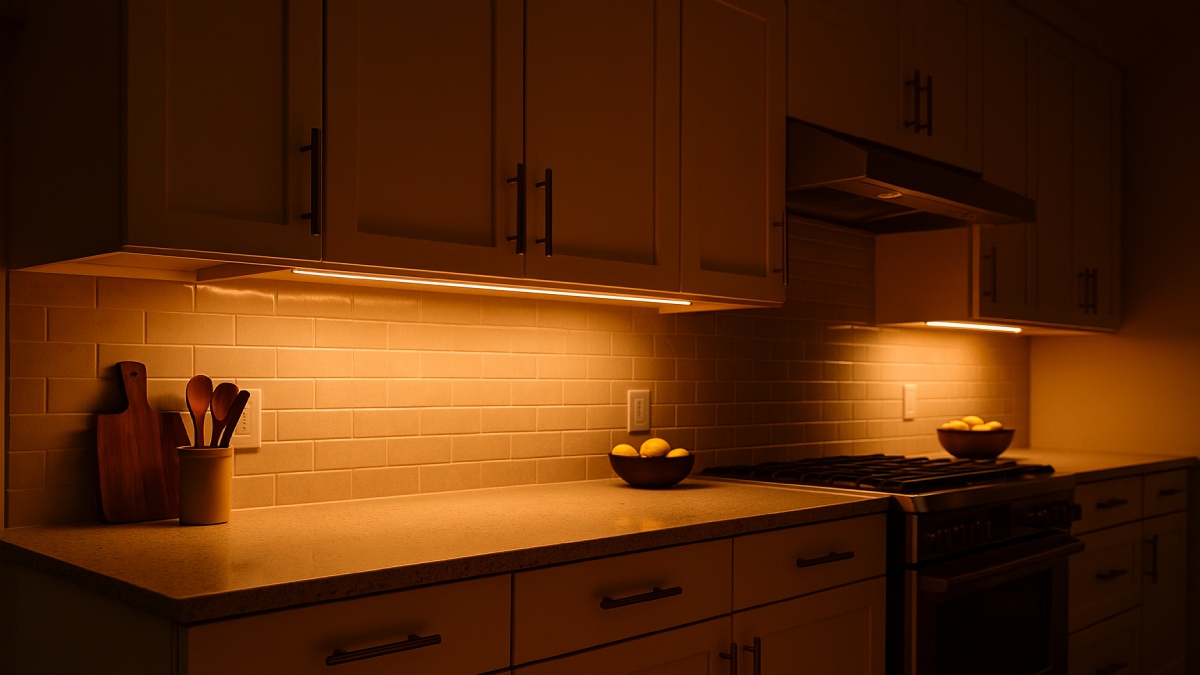
Run a continuous COB strip under every upper. Add a shallow run along the toe-kick for a floating effect on late nights. If your backsplash has texture, angle the channel slightly to graze the surface. Stone and handmade tile come alive under a gentle raking beam. If you prefer a crisp look, point straight down for flat, even light that keeps counters camera-ready.
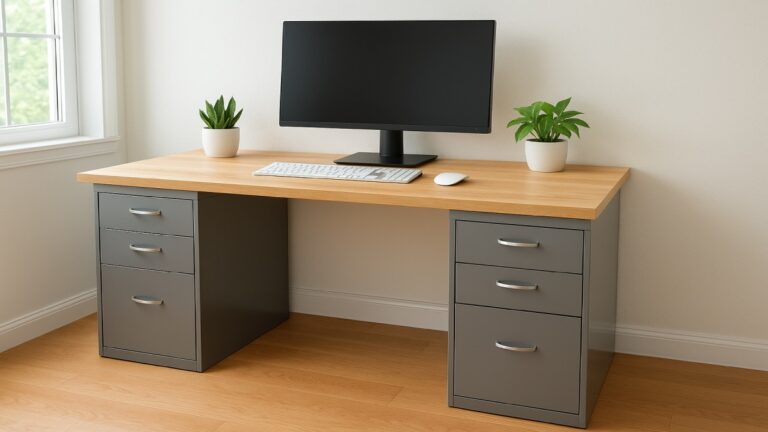
Productive Office Shelving
Mount an edge-lit bar under a floating shelf above the monitor. The even face diffuses light so screens stay readable. Put a second bar under a lower shelf to light the notebook area, then pair both to the same dimmer. For late nights, a low setting carries enough light for writing without filling the whole room. If you use a webcam, a soft bar above the screen lifts face light and reduces eye strain.
Hybrid Use: Coffee Station and Pantry Nook
A short strip under the cabinet above the coffee maker keeps mornings smooth. Set it to a warm tone on a schedule and let it glow before dawn. In the pantry, a door sensor tied to a small bar turns on light the moment you open the door. No more hunting for labels in the dark corners.
Maintenance and Troubleshooting Tips
LEDs last for years, yet a few habits will keep output stable and clean. Wipe lenses with a dry microfiber cloth every few weeks. Avoid harsh chemicals that cloud plastics. If a section dims, look for a loose connector or a driver near its limit. When one run ages to a slightly different tone than the rest, replace that whole segment so the color match returns. A tiny parts bin with spare connectors, end caps, and a short tape off-cut makes future tweaks painless.
Cost and Budget Breakdown
Costs vary by length, output, and control level. A small plug-in kit for a coffee bar or desk shelf can land well under a hundred dollars. A full kitchen with high-CRI COB strips, aluminum channels, a listed driver, and a compatible dimmer lands higher but pays off in daily comfort and a polished look. Smart controls add a modest premium and deliver far more use. Remember to budget for cable management, a few extra connectors, and a spare lens segment for that inevitable custom cut.
Common Questions About Under-Cabinet Lighting
How bright should under-cabinet lights be?
For kitchen counters, aim for a comfortable band around 300–500 lux on the surface. Dark counters or deep uppers may need higher lumen-per-foot tape or a run positioned closer to the front face. For desks, stay in a softer zone so your screen remains pleasant and glare free.
What color temperature works best?
In kitchens, warm or warm-neutral (2700–3500K) flatters food and wood. In offices, neutral white (3500–4000K) keeps paper crisp and the space alert. Pick one tone per room for a cohesive feel and match nearby fixtures so the scene remains consistent.
How do I avoid visible dots on the backsplash?
Use COB tape or a deeper frosted lens to blur the sources. Place the channel a touch closer to the wall if your backsplash reflects strongly. In very shallow installations, edge-lit bars deliver a smooth face that hides the point sources entirely.
Do I need an electrician?
For plug-in kits placed under existing cabinets, most homeowners can handle the work with basic tools. If you plan to add a new switch, open walls, or tie into a circuit, bring in a licensed pro. It is faster, safer, and keeps inspection simple.
Where should I put the driver?
Drivers like cool, open air. A high cabinet, pantry, or ventilated toe-kick space works well. Label the location and leave a short note inside a nearby cabinet so the next person knows where to look. Keep the unit accessible; you may want to add a second run later.
Final Takeaway: Brighten Your Workspace the Smart Way
Under-cabinet lighting adds clarity to daily life. Counters become safer and more inviting. Desks feel organized and calm. With a simple plan—continuous runs for even light, high-CRI output, a comfortable color tone, and a compatible dimmer—you get results that look designer-grade without a designer price. Start with one zone, measure what you get on the surface, and tune from there. Soon you will have a kitchen or office that works late without feeling harsh and wakes up early without being stark. One small project. Big everyday payoff.