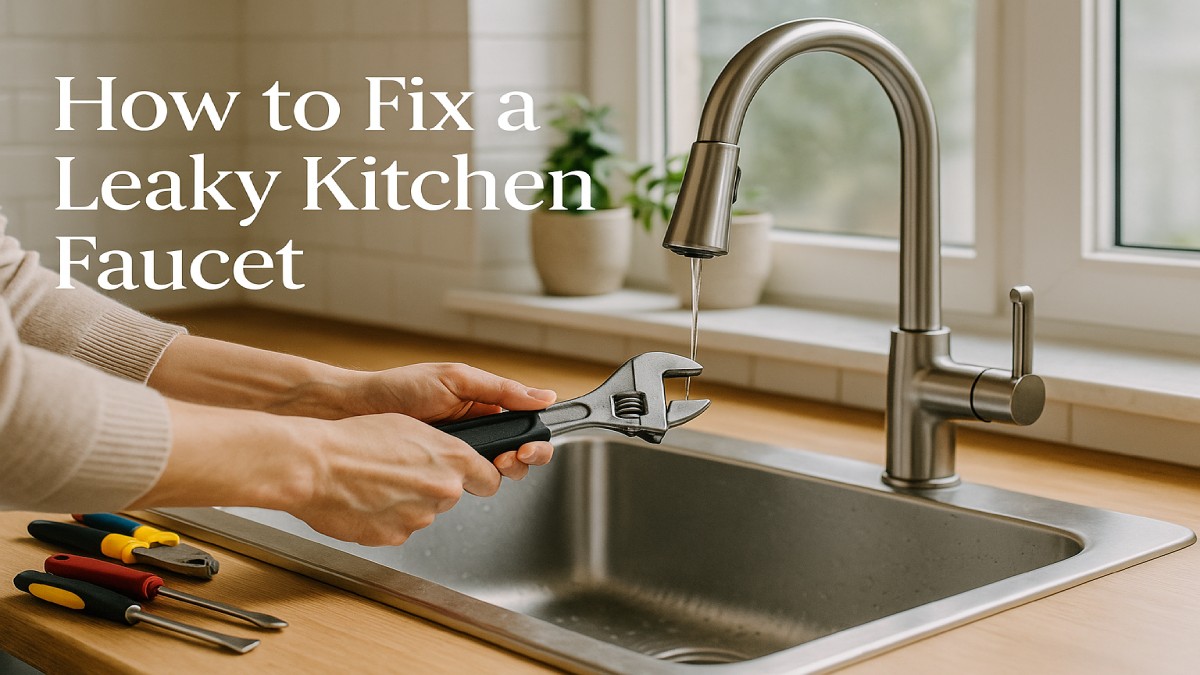
How to Fix a Leaky Kitchen Faucet (Step-by-Step Guide)
At HomeFettle, we believe crafting homes with heart and hands begins with the little things — like fixing that drip that’s been driving you crazy. A leaky kitchen faucet might seem small, but it wastes water, adds to your bills, and interrupts the calm rhythm of your kitchen. The good news? You can fix it yourself — quickly, confidently, and without calling a plumber.
💧 Why Fixing a Leaky Faucet Matters
A slow drip may not seem urgent, but here’s what it costs you:
- Over 3,000 gallons of water wasted per year (EPA estimate)
- Higher water bills — especially if left for months
- Mineral buildup that damages your sink and faucet finish
Fixing it is not only eco-friendly and budget-smart — it’s deeply satisfying. You’ll turn frustration into accomplishment in under an hour.
🔍 Common Causes of a Leaky Kitchen Faucet
Before you grab your wrench, it’s helpful to know what’s going wrong. Most faucet leaks trace back to one of a few common issues.
1. Worn O-Ring
This small rubber ring seals moving parts in your faucet handle. When it wears out, water seeps around the base or handle.
2. Damaged Cartridge or Valve Seat
Single-handle faucets often leak because of worn-out cartridges or corroded valve seats that fail to block water properly.
3. Loose or Cracked Parts
Over time, frequent use loosens fittings and nuts. A quick tightening (not over-tightening!) often solves the problem.
4. High Water Pressure
If your faucet leaks only at specific times, pressure fluctuations might be the culprit — not the faucet itself.
💡 Pro Tip:
Before replacing anything, note where the leak occurs — at the spout, base, or handle. That location often reveals the cause.
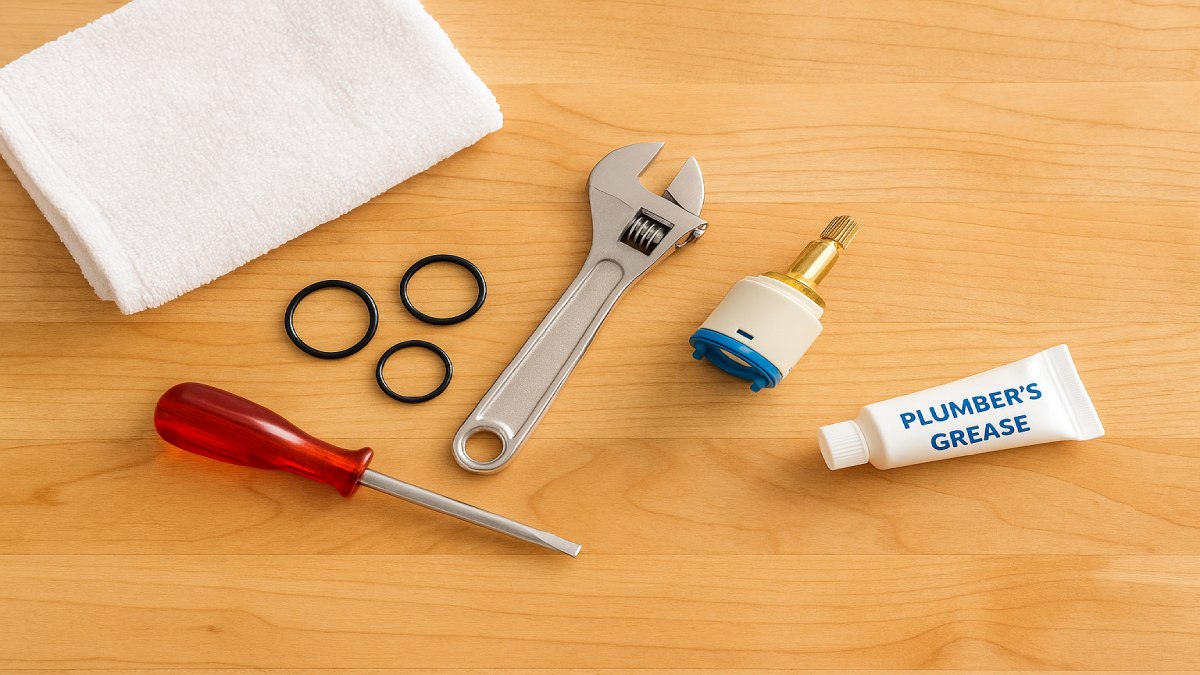
🧰 Tools and Materials You’ll Need
Having the right tools at hand makes this process smooth and frustration-free. You likely already have most of these in your toolbox.
| Tools | Materials |
|---|---|
| Adjustable wrench | Replacement cartridge or O-ring kit |
| Flathead screwdriver | Plumber’s grease |
| Allen wrench (for handle) | Cleaning cloth or towel |
| Needle-nose pliers | Teflon tape (optional) |
| Bowl or small container | Replacement washers (if needed) |
💡 Pro Tip: Keep a towel or rag in the sink to catch any small parts that might fall while you work.
🔧 Step-by-Step: How to Fix a Leaky Kitchen Faucet
Step 1: Turn Off the Water Supply
Find the two shutoff valves under your sink (one for hot water, one for cold). Turn them clockwise to close.
If you can’t locate them, turn off your home’s main water supply.
Then, open the faucet handle to drain out any remaining water and relieve pressure.
Step 2: Plug the Drain
Use a sink stopper or cloth to block the drain. You’ll be removing tiny screws and washers, and you don’t want them disappearing down the pipe.
Step 3: Remove the Handle
Depending on your faucet type, use an Allen wrench or screwdriver to remove the handle.
- Single-handle faucets: Look for a set screw under a decorative cap.
- Double-handle faucets: Usually have visible top screws.
Set all screws and caps aside in your bowl.
Step 4: Take Apart the Faucet Assembly
Lift off the handle and remove the cartridge or valve stem.
If it’s stuck, gently twist it back and forth with pliers — don’t force it, as that can crack the housing.
Inspect for signs of:
- Worn or torn rubber seals
- Corrosion on metal surfaces
- Cracked washers or buildup
Use vinegar or a mild cleaner to remove mineral deposits before replacing any parts.
Step 5: Identify and Replace Worn Parts
Take your damaged cartridge, washer, or O-ring to a hardware store to match it exactly. Faucet models vary, and even small differences can cause leaks.
If you’re ordering online, check your faucet brand and model number (often printed under the base).
Replace damaged pieces and apply plumber’s grease to rubber seals before reassembly. This ensures smooth movement and prevents future leaks.
Step 6: Reassemble the Faucet
Carefully reverse your disassembly steps:
- Insert the new cartridge or valve
- Reattach retaining nuts (hand-tight, not over-tight)
- Put the handle back on and secure with the screw
Wipe the faucet base and handle with a soft cloth to remove residue or grease.
Step 7: Turn the Water Back On
Slowly turn both shutoff valves counterclockwise to restore water flow.
Open the faucet fully for a few seconds to flush out any air or debris.
Watch closely for leaks — especially around the handle and base. If dry, you’re done!
🪄 Faucet Type–Specific Fixes
Not all faucets are built alike. Here’s a quick breakdown of what to expect based on your faucet type.
| Faucet Type | Typical Leak Cause | How to Fix |
|---|---|---|
| Compression Faucet | Worn rubber washer | Replace washer and re-grease stem |
| Ball Faucet | Damaged rubber seats | Replace seats and springs |
| Cartridge Faucet | Cracked or worn cartridge | Replace cartridge with same model |
| Ceramic Disc Faucet | Debris on seals | Clean discs and replace rubber gaskets |
💡 Pro Tip: If you’re unsure about your faucet type, look at the handle movement:
- Single up/down handle = cartridge
- Round dome handle = ball type
- Two handles = compression
🧩 Troubleshooting Common Leak Scenarios
| Leak Location | Likely Cause | Solution |
|---|---|---|
| Drip from spout | Worn cartridge or O-ring | Replace cartridge/O-ring |
| Leak at base | Loose packing nut or O-ring | Tighten nut; replace seal |
| Leak under sink | Loose supply line | Tighten with wrench or apply Teflon tape |
| Drip after shutoff | Faulty cartridge seal | Replace cartridge |
💡 Bonus Tip: If you’ve replaced everything and it still drips, double-check that you installed the cartridge in the correct orientation.
🌿 Preventing Future Leaks
A little maintenance goes a long way.
Here’s how to keep your faucet leak-free for years:
- Clean the aerator monthly to remove mineral buildup.
- Avoid over-tightening handles — it wears out washers faster.
- Wipe dry after use to prevent corrosion at the base.
- Replace O-rings and cartridges every 3–5 years (depending on water hardness).
- Check water pressure — high pressure accelerates wear.
💡 Pro Tip: Add a small splash of vinegar to your cleaning water once a month. It dissolves hidden deposits that cause leaks over time.
🧑🔧 When to Call a Professional
Some problems go beyond a DIY fix. Call a licensed plumber if:
- The faucet body is cracked or corroded
- You can’t identify the faucet model for replacement parts
- The leak continues after multiple replacements
- There’s water leaking below the countertop
A quick professional inspection can save hours of frustration — and prevent bigger plumbing issues later.
💬 FAQs
Q: Why does my faucet drip even after replacing the washer?
It’s likely the valve seat or cartridge is corroded. Clean or replace the seat to ensure a tight seal.
Q: Can hard water cause faucet leaks?
Yes — mineral buildup erodes rubber seals and clogs moving parts. Using a water softener helps prevent this.
Q: How much does a plumber charge to fix a faucet leak?
Usually between $100–$250, depending on the faucet type and part availability. Doing it yourself typically costs under $15.
Q: What’s the easiest faucet type to repair?
Cartridge faucets are easiest because their parts are modular and widely available.
🏡 Conclusion: Fix It Once, Fettle It Forever
Fixing a leaky kitchen faucet isn’t just a chore — it’s a satisfying way to reclaim your home’s rhythm and save water at the same time.
By following these steps, you’ll stop that drip for good and feel a little more connected to your home — one repair at a time.
✨ HomeFettle — Crafting Homes with Heart and Hands.